
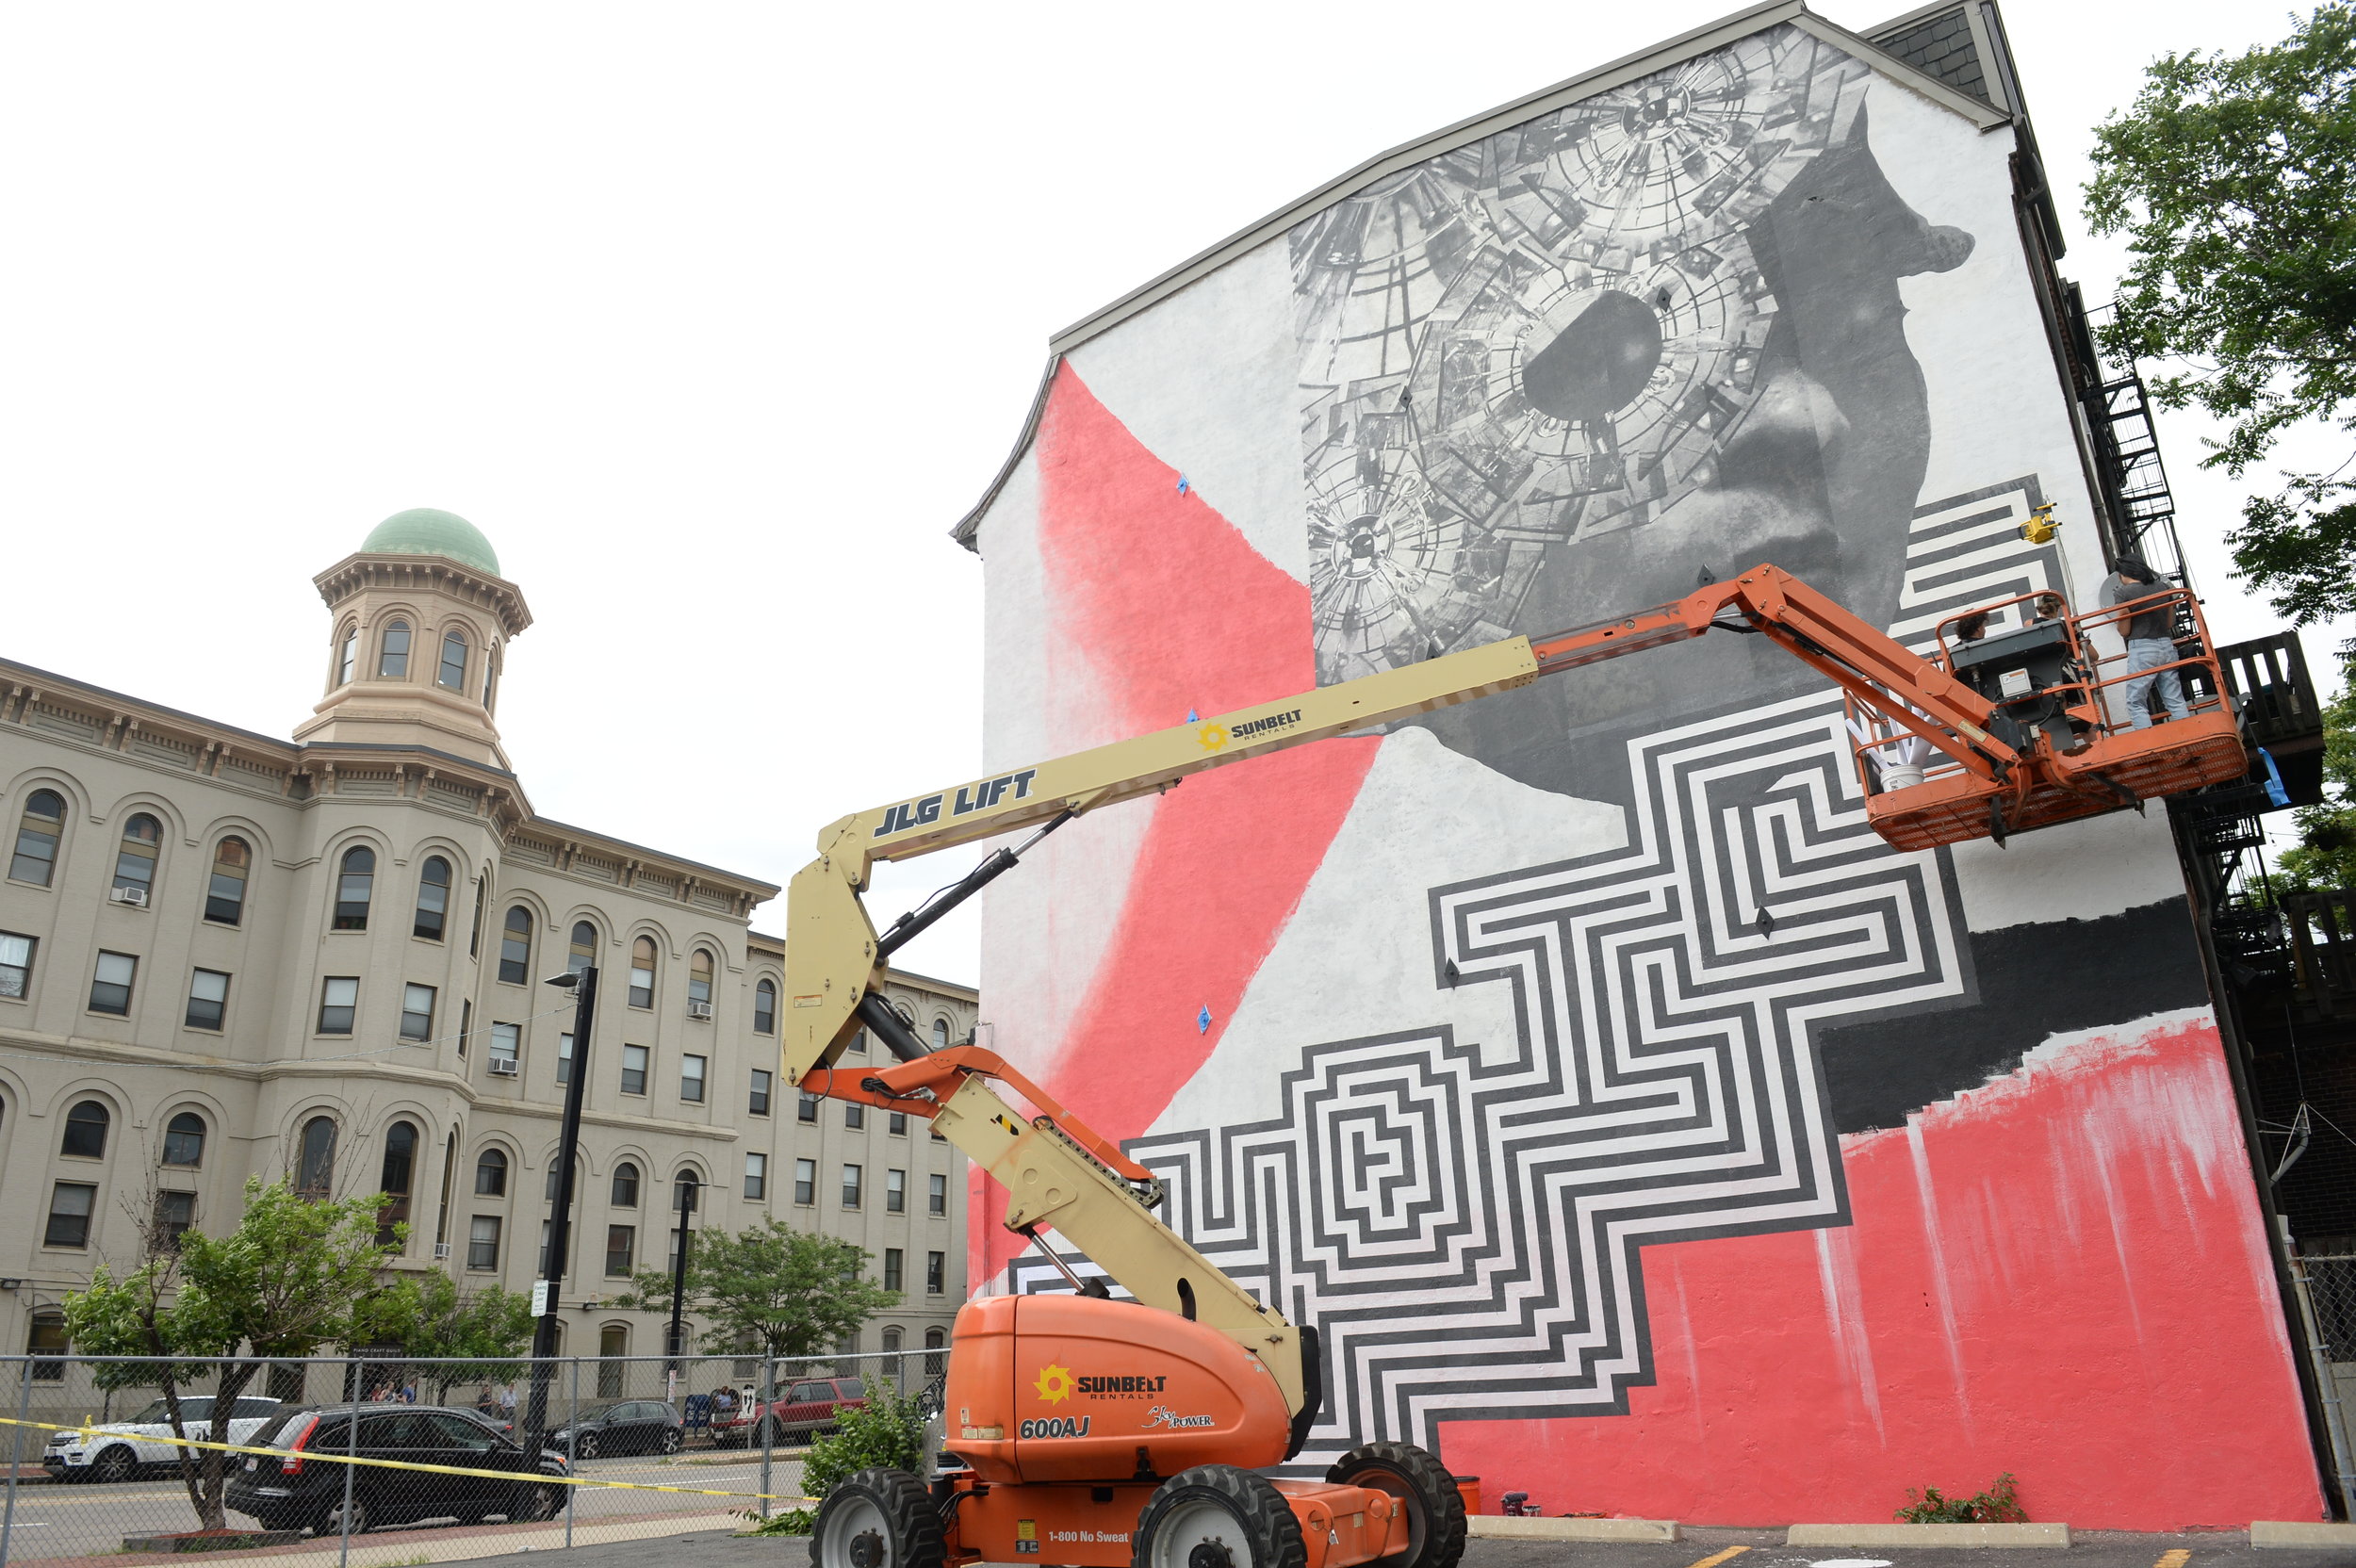
As you may well imagine, creating a 38’ x 45’ mural on a concrete wall in the middle of the city can be, well, complex.
After the preliminary work talking with artists, commissioning pieces, collaborating on finding the right space, and honing in on the vision, comes the physical work of creating the art.
So if you ever come across a piece of public art and wonder how it got there, here’s a 9-step inside look at the process of creating one such project, our new mural by Ann Lewis, See Her. (Psst, there’s some unexpected wild action at step 7.)
Step 1: Approval from Boston Landmarks Commission
For See Her we rallied public art supporters, along with our partners in the project, Community Resources for Justice, to cheer us on at the Landmarks Commission meeting on June 6. Armed with letters of support and enthusiastic partners, the Commission gave us the go ahead for a temporary mural. From there we had 14 days to design, plot, and begin work on the mural.
Step 2: Collaborative workshops with women at McGrath House
Ann’s vision for See Her was to create an artwork that would bear witness to the hopes, doubts, and humanity of incarcerated women. As part of her artistic process it is important that real stories and real women be represented - so we partnered with a reentry facility for incarcerated women run by Community Resources for Justice to create two immersive workshops for residents on June 8 and 9. You can read about them and the impact they had on Ann and the mural here.
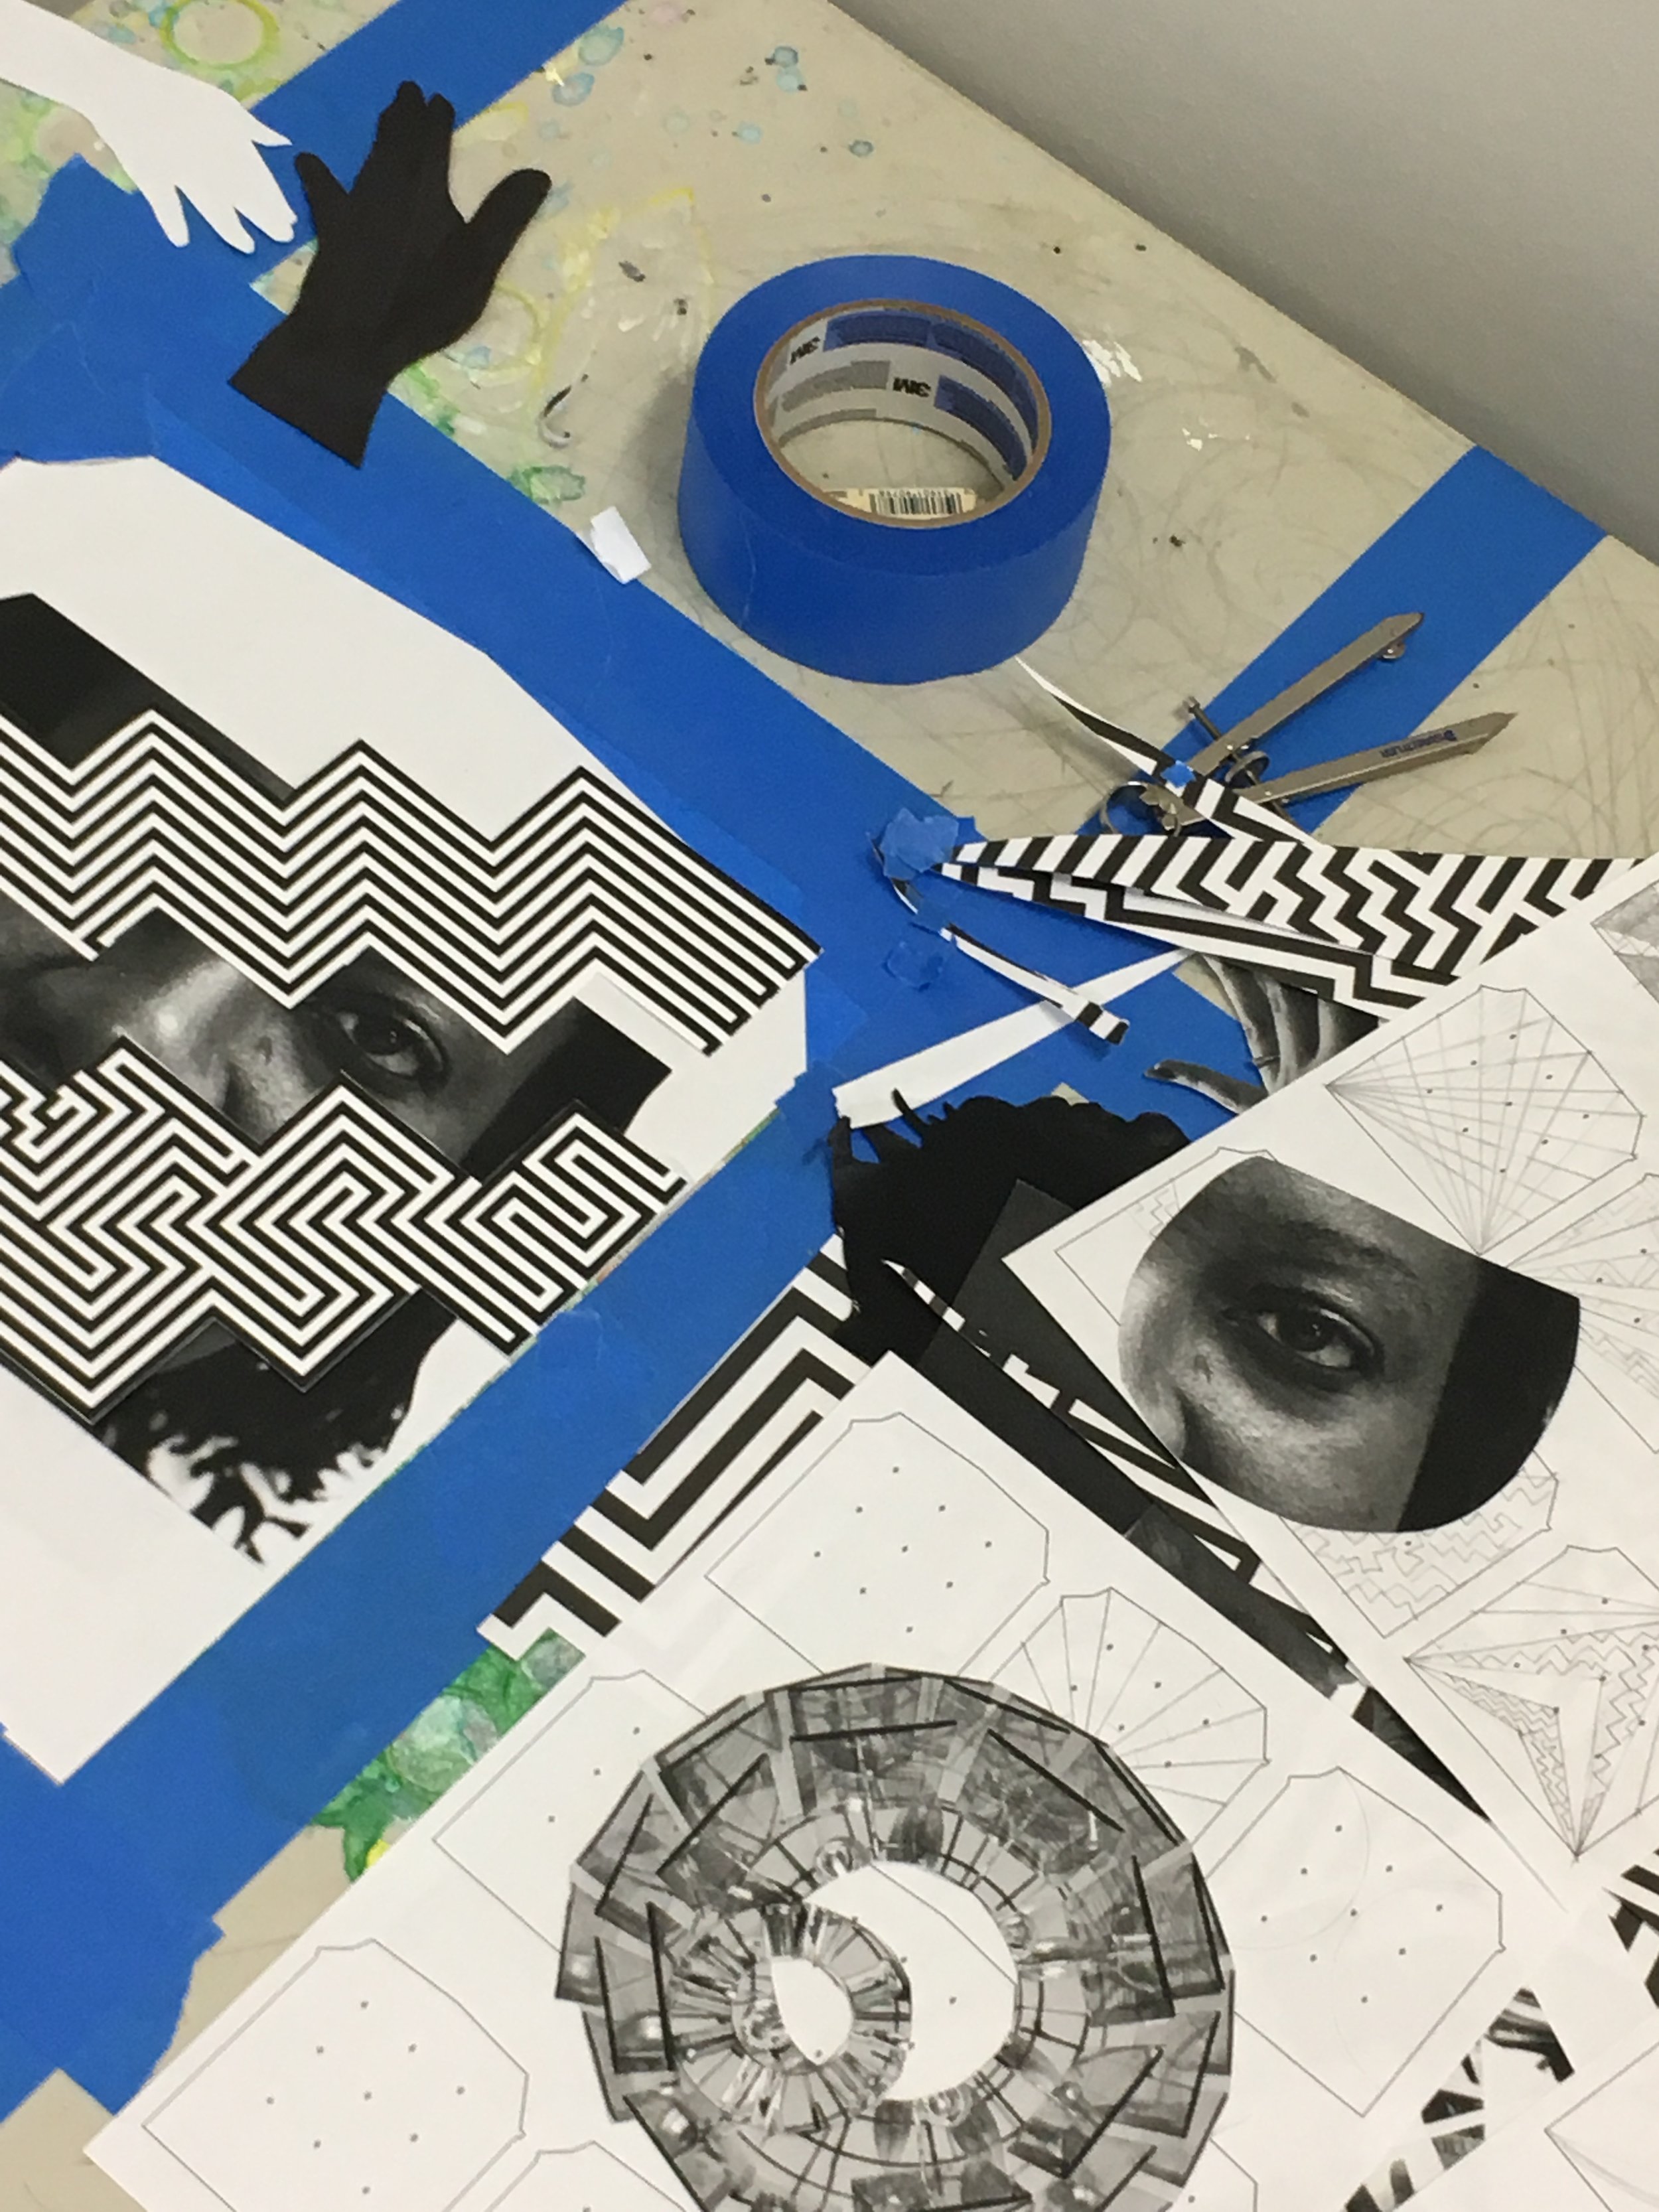
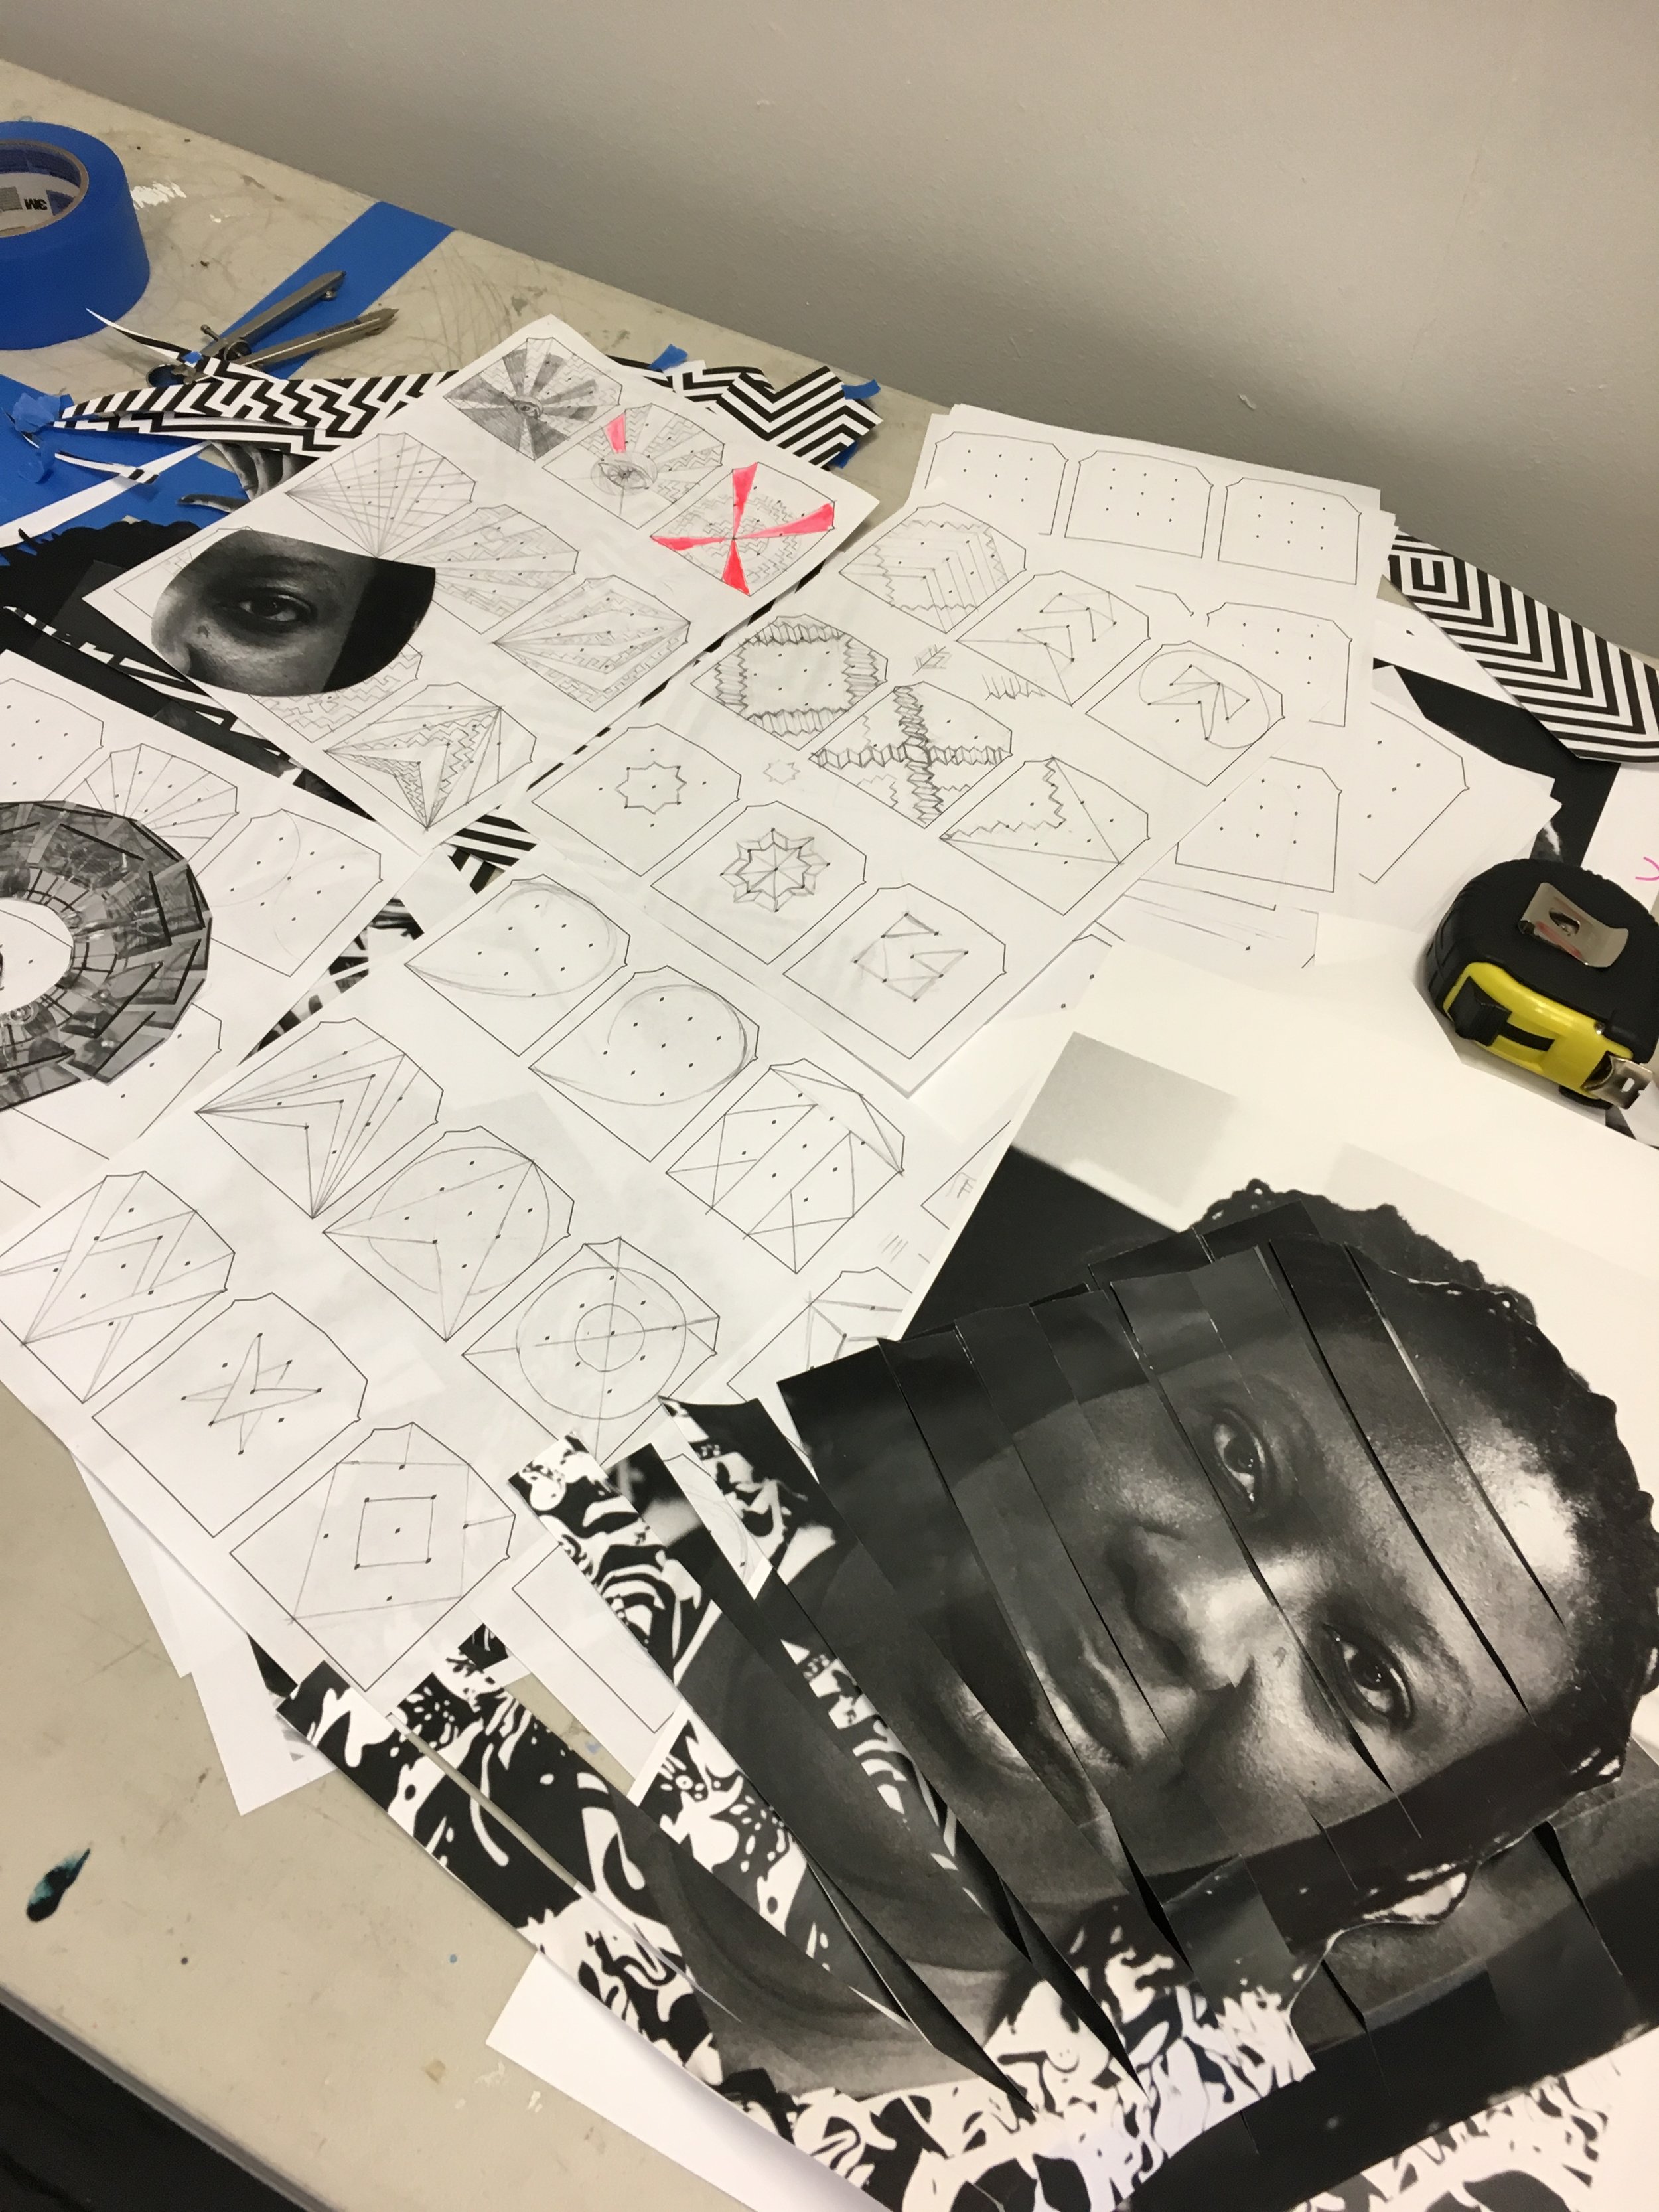
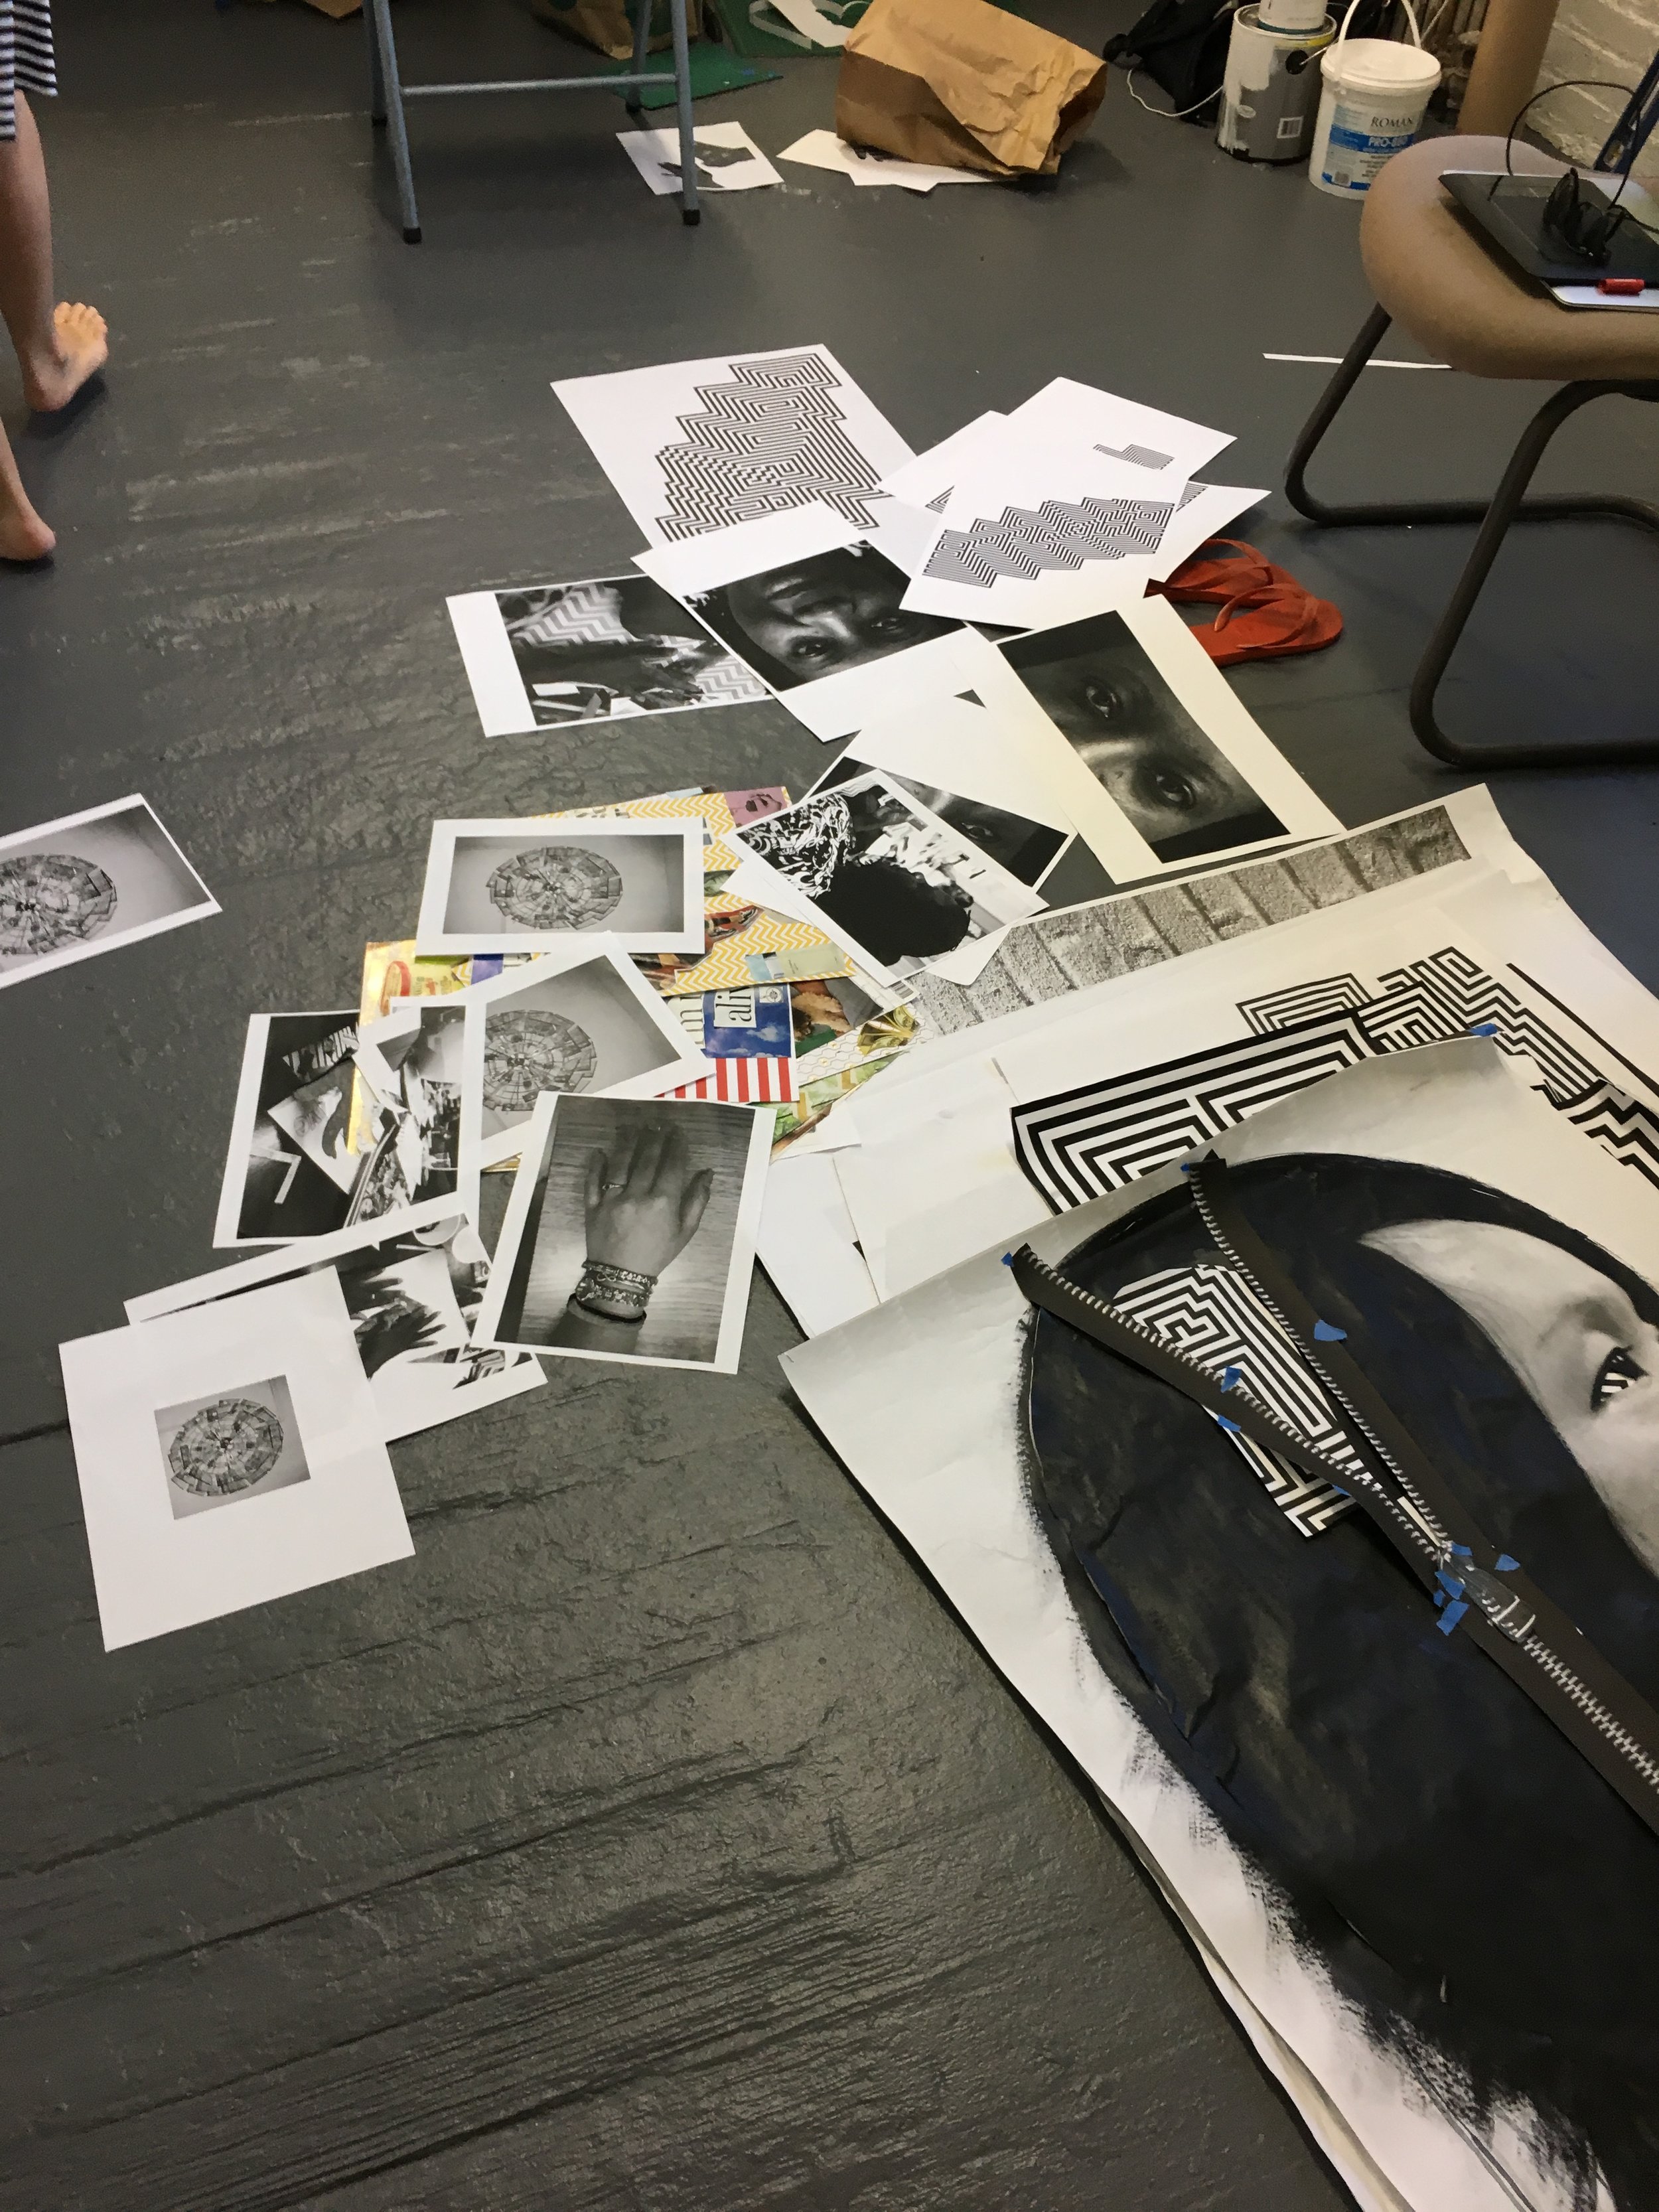
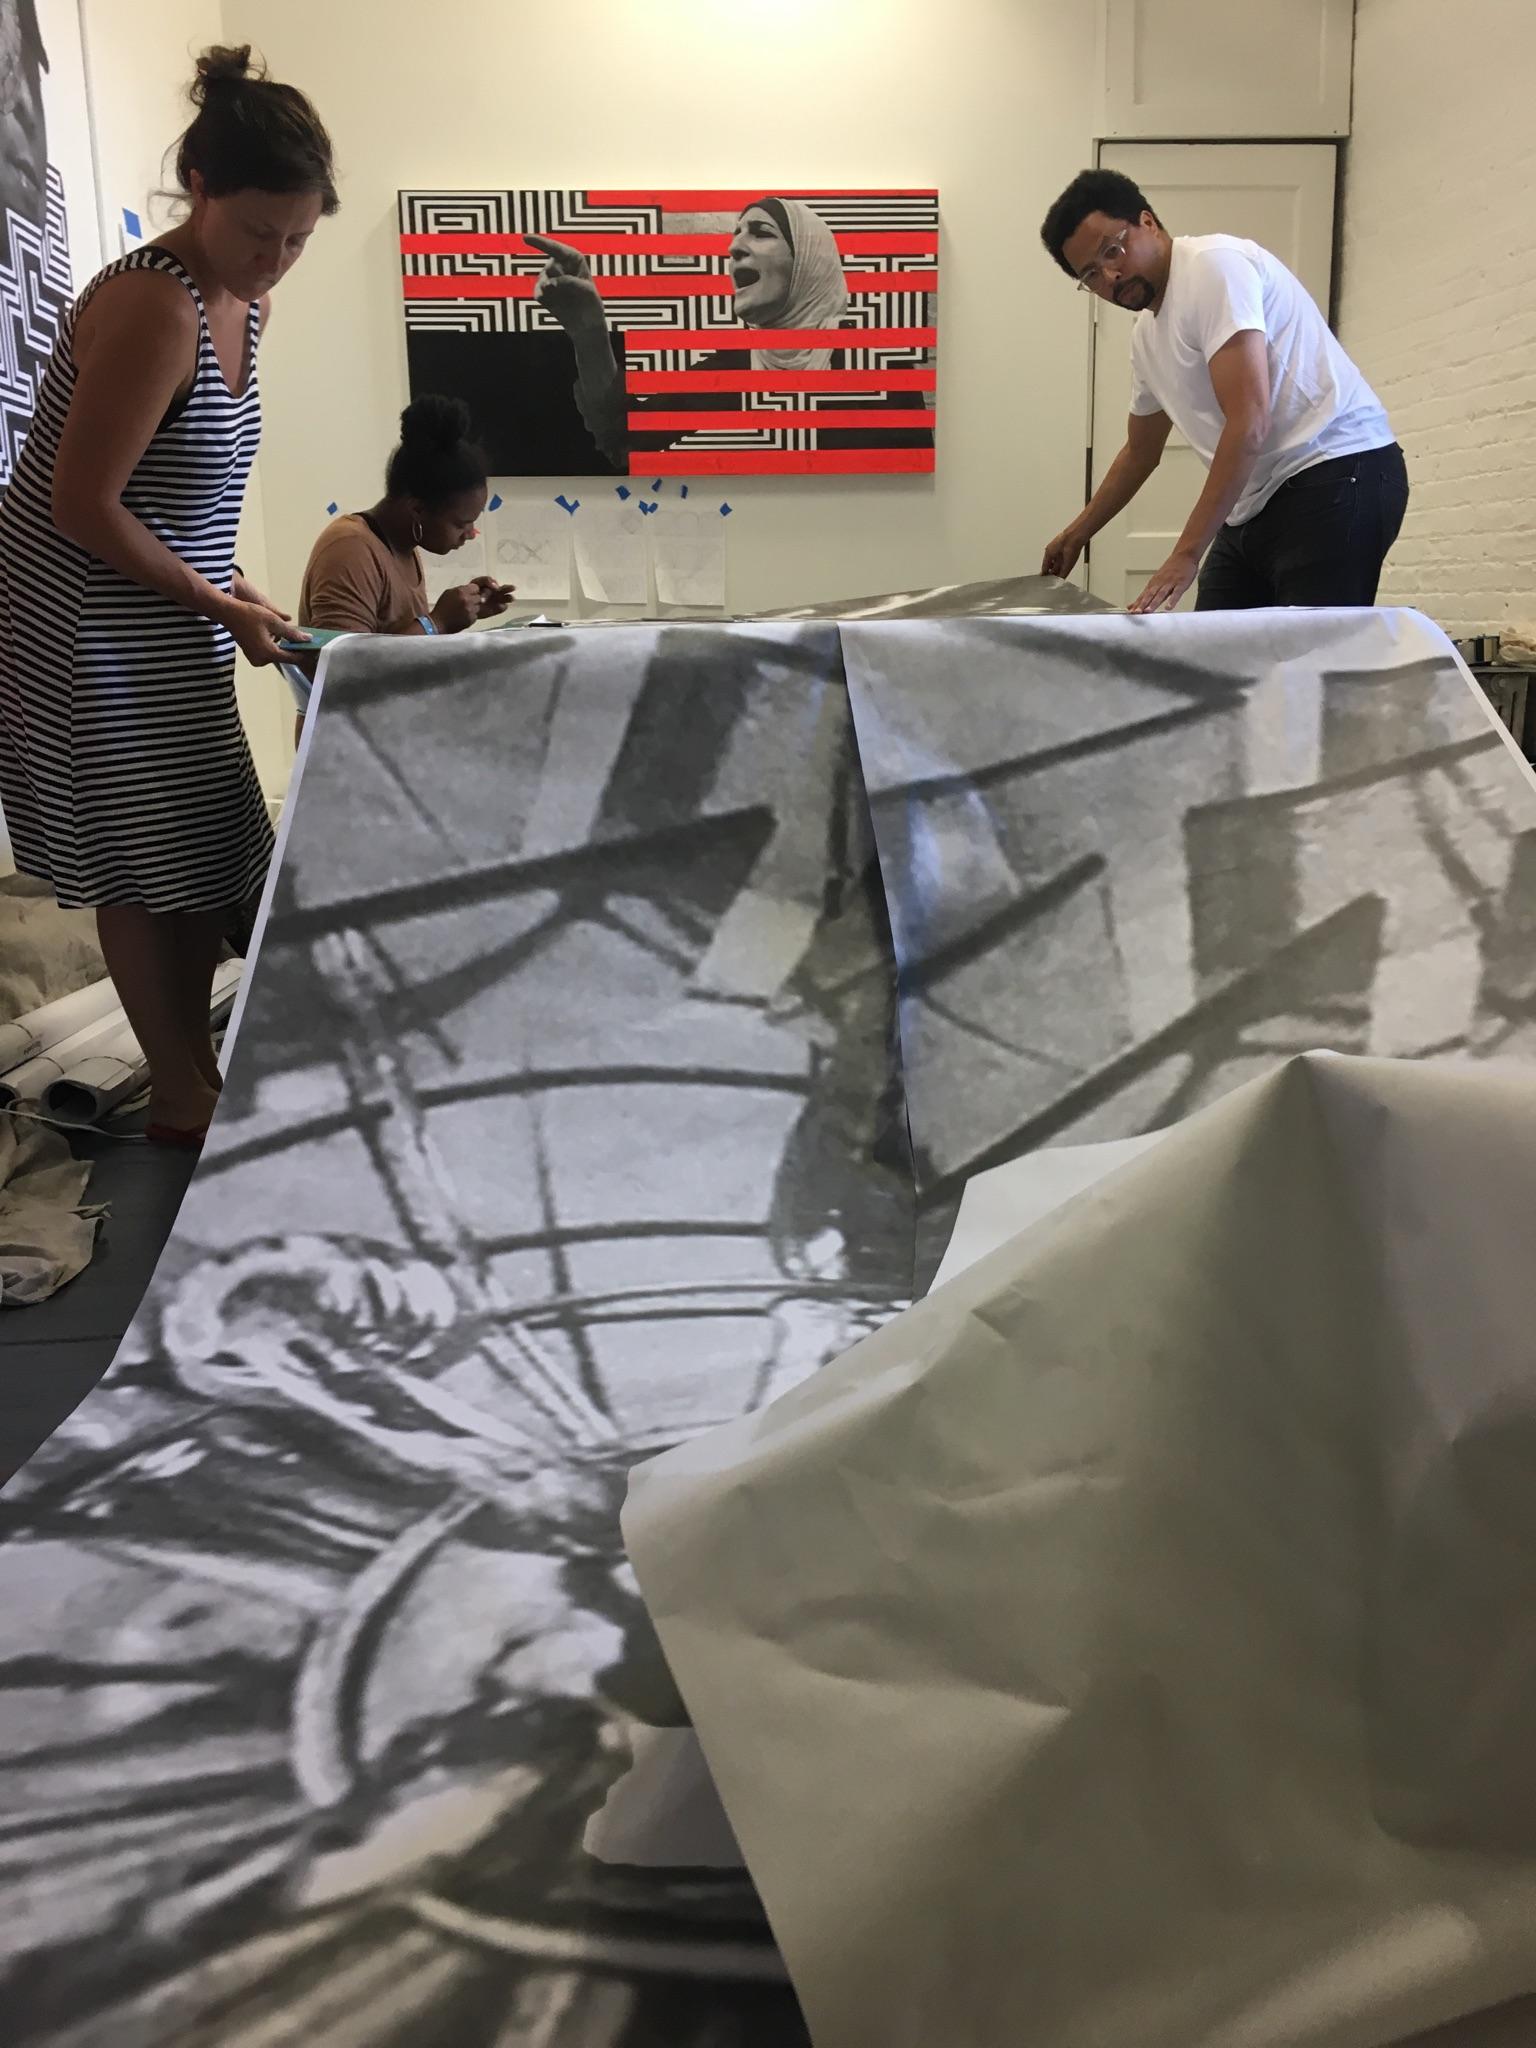
Step 3: Studio work
With the women’s collages pinned to her studio walls at the Boston Center for the Arts she spent many a late night creating the final design.
““We often perceive those who have been part of the criminal justice system as inherently immoral, or dishonest, or malicious. And that’s just not the case.” ”


Listen to some of her inspiration music.
Step 4: Approvals from our Partners
With the finished design in hand we met with all of our partners on June 16 to get their approval. The property owner at The Community Builder exclaimed, “This is huge for the neighborhood and a new landmark.“ The neighboring People’s Baptist Church of Boston was pleased too. The women of McGrath House were thrilled and moved at how their words and artwork had inspired Ann. Each of them could see how their contributions mattered. Laura, the woman represented by the photo, was nervous at first to have her image so large but also proud saying, “At first I was a little nervous, but I was okay with it in the end because I’ll stand up for women all day long.” It’s positive; it says choice.”
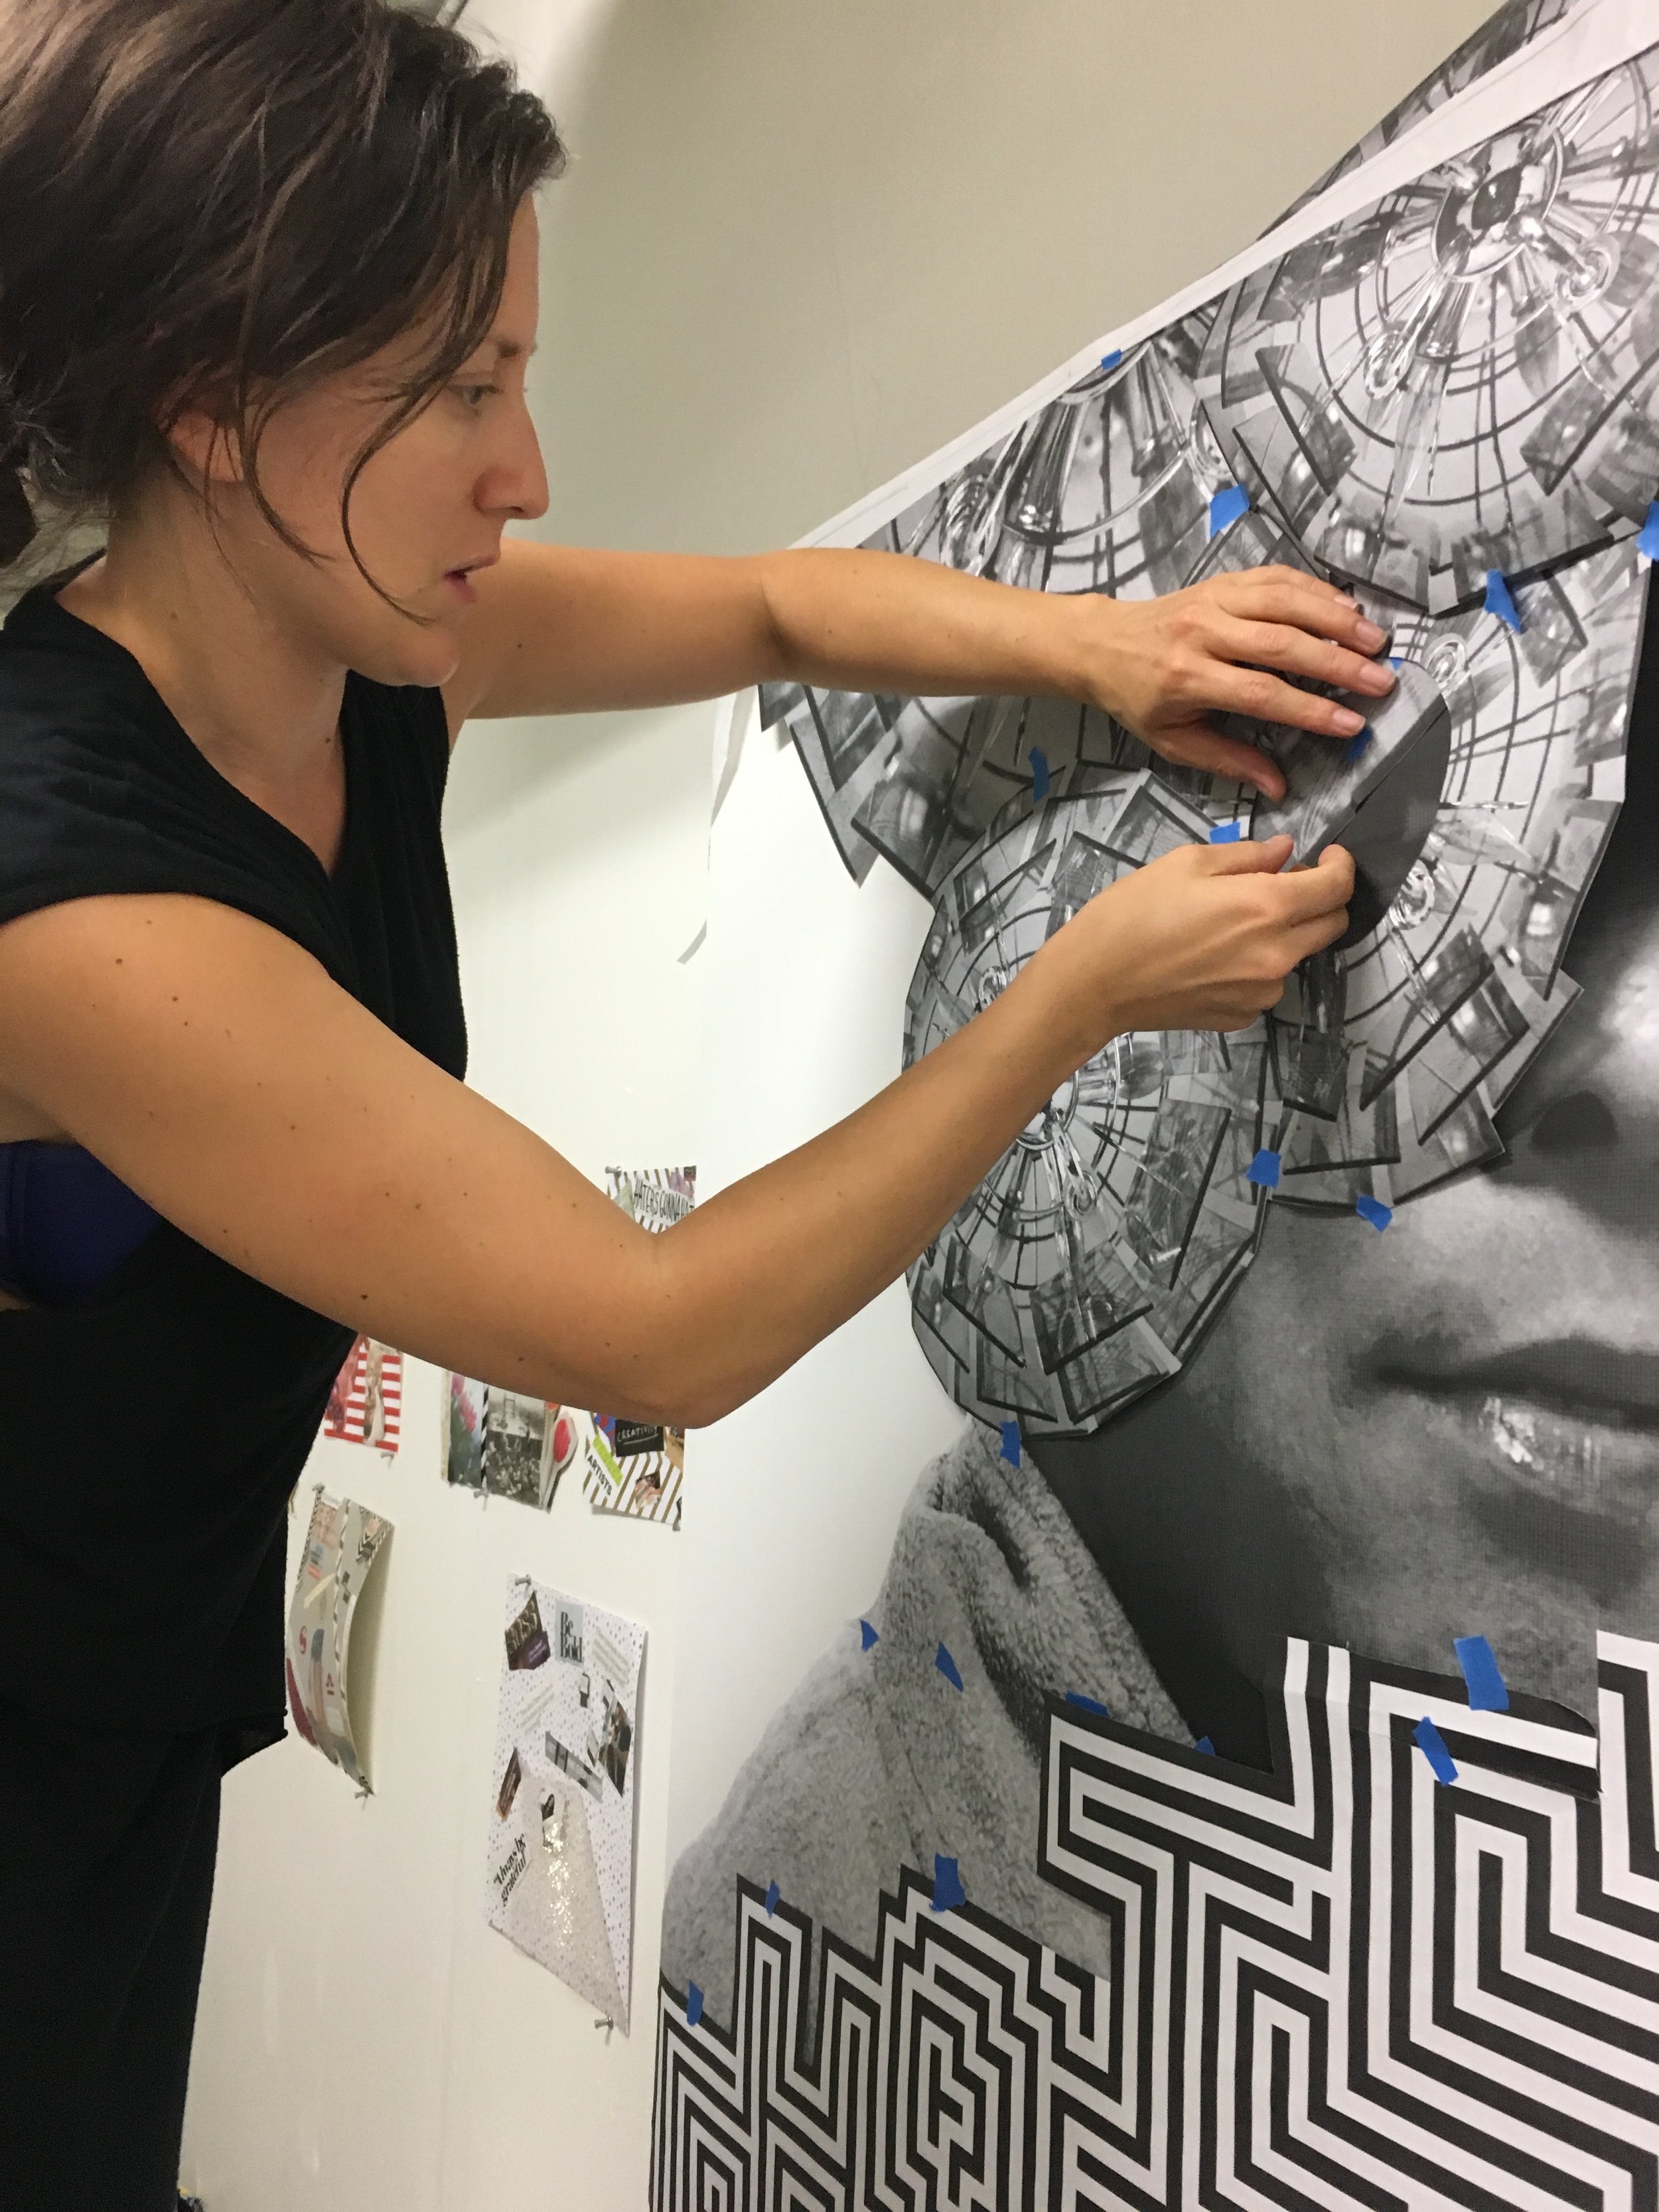
Step 5: Printing, planning, and preparation
With all final approvals and a completed design we were ready to start ordering the photo prints and supplies, checking final measurements, lining up assistants and volunteers, and creating a work plan. Here’s what we needed:
Protective Coating: we applied Defacer Eraser, a product usually used to protect against graffiti to the wall to ensure all materials used in creating the mural come off in 16 months and the wall is restored.
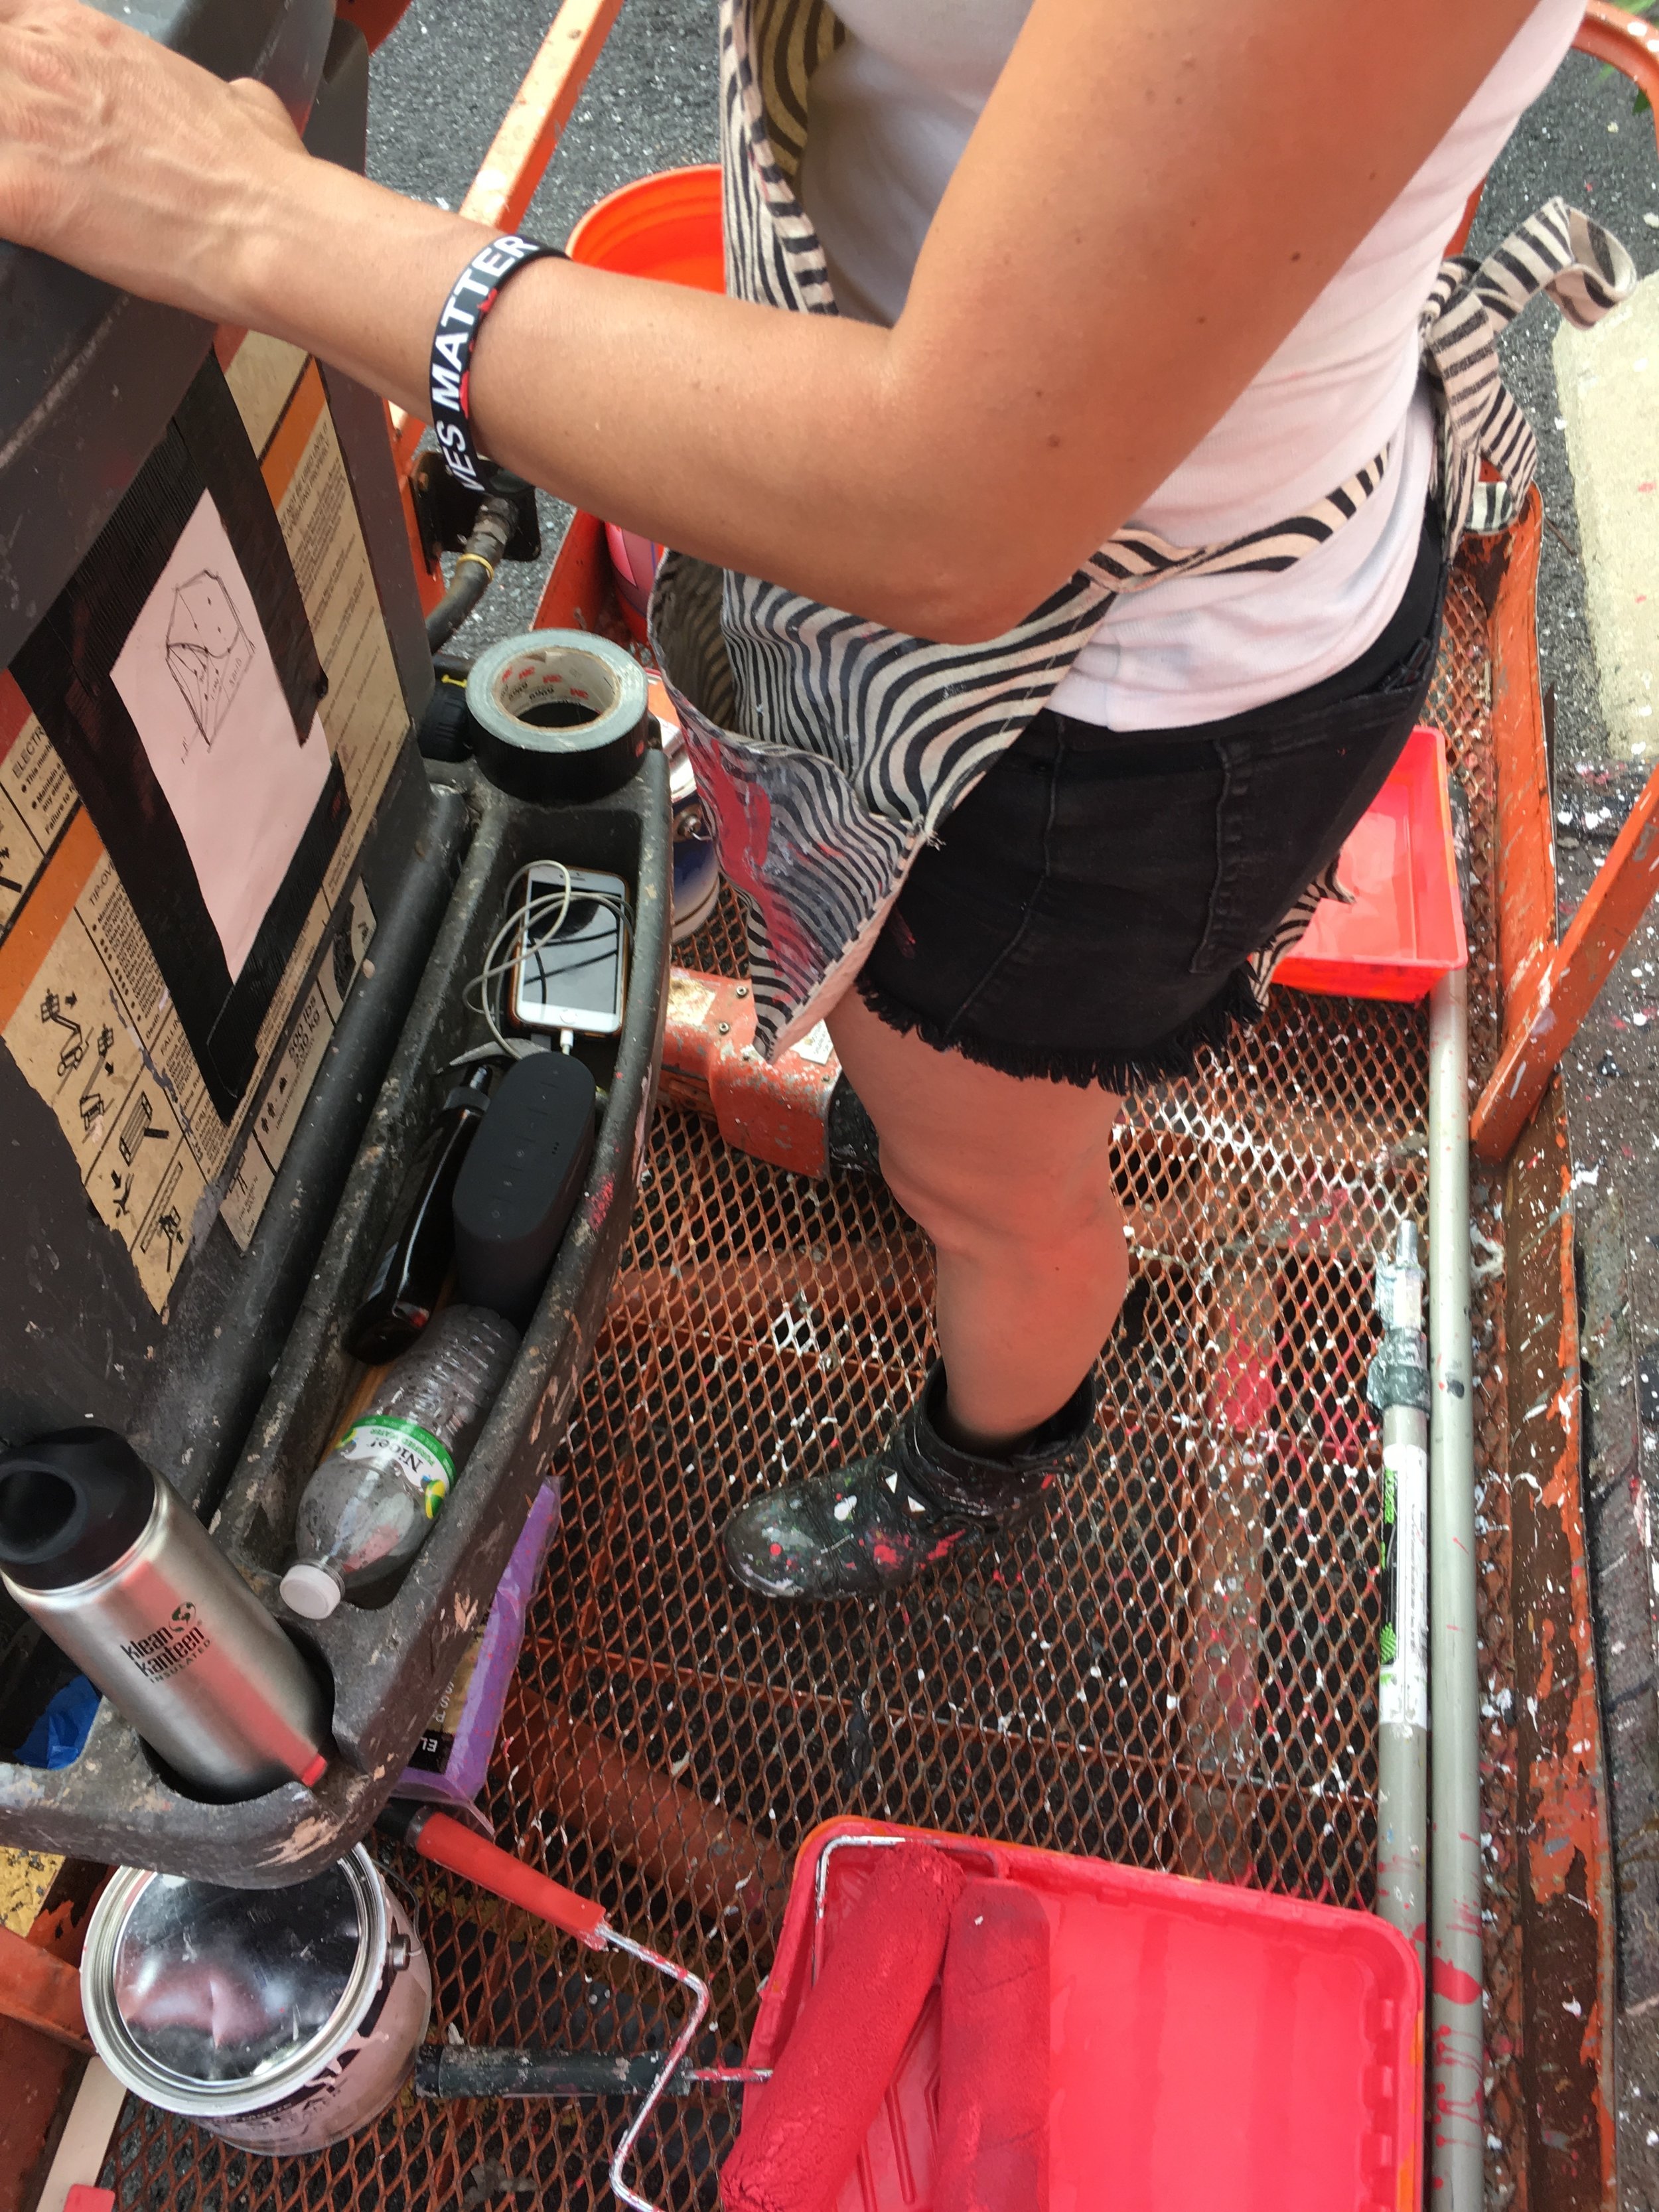
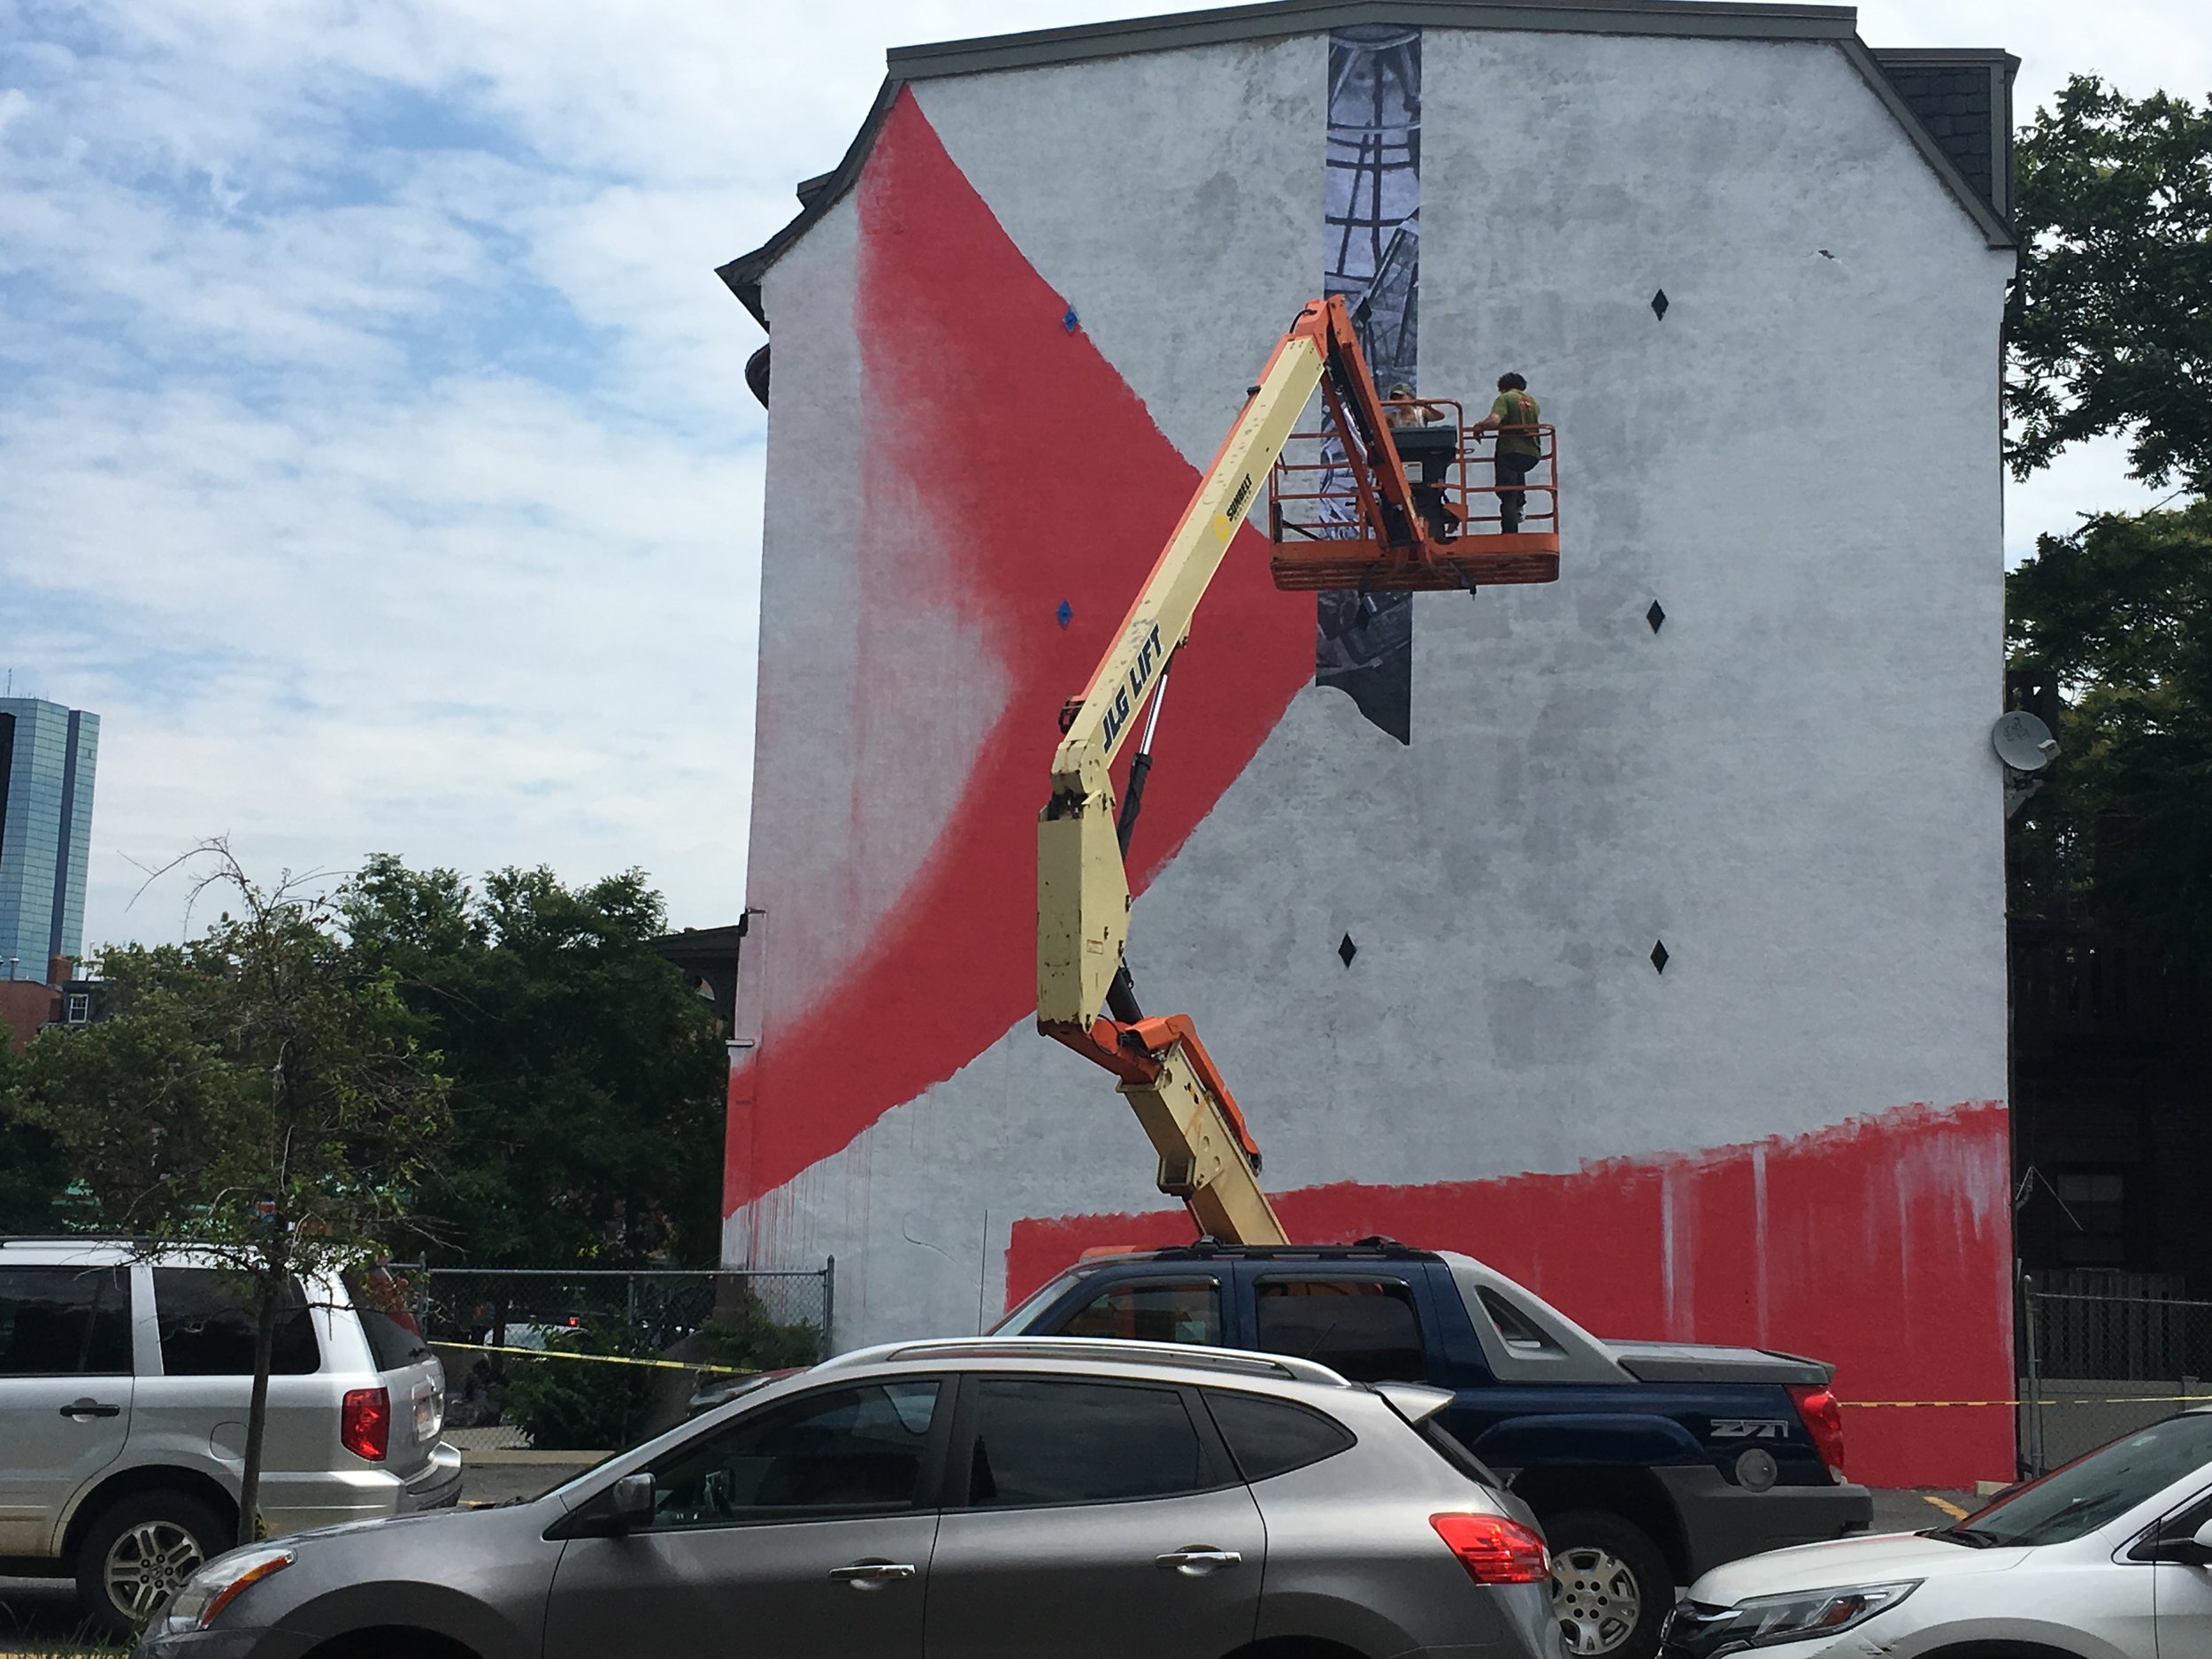
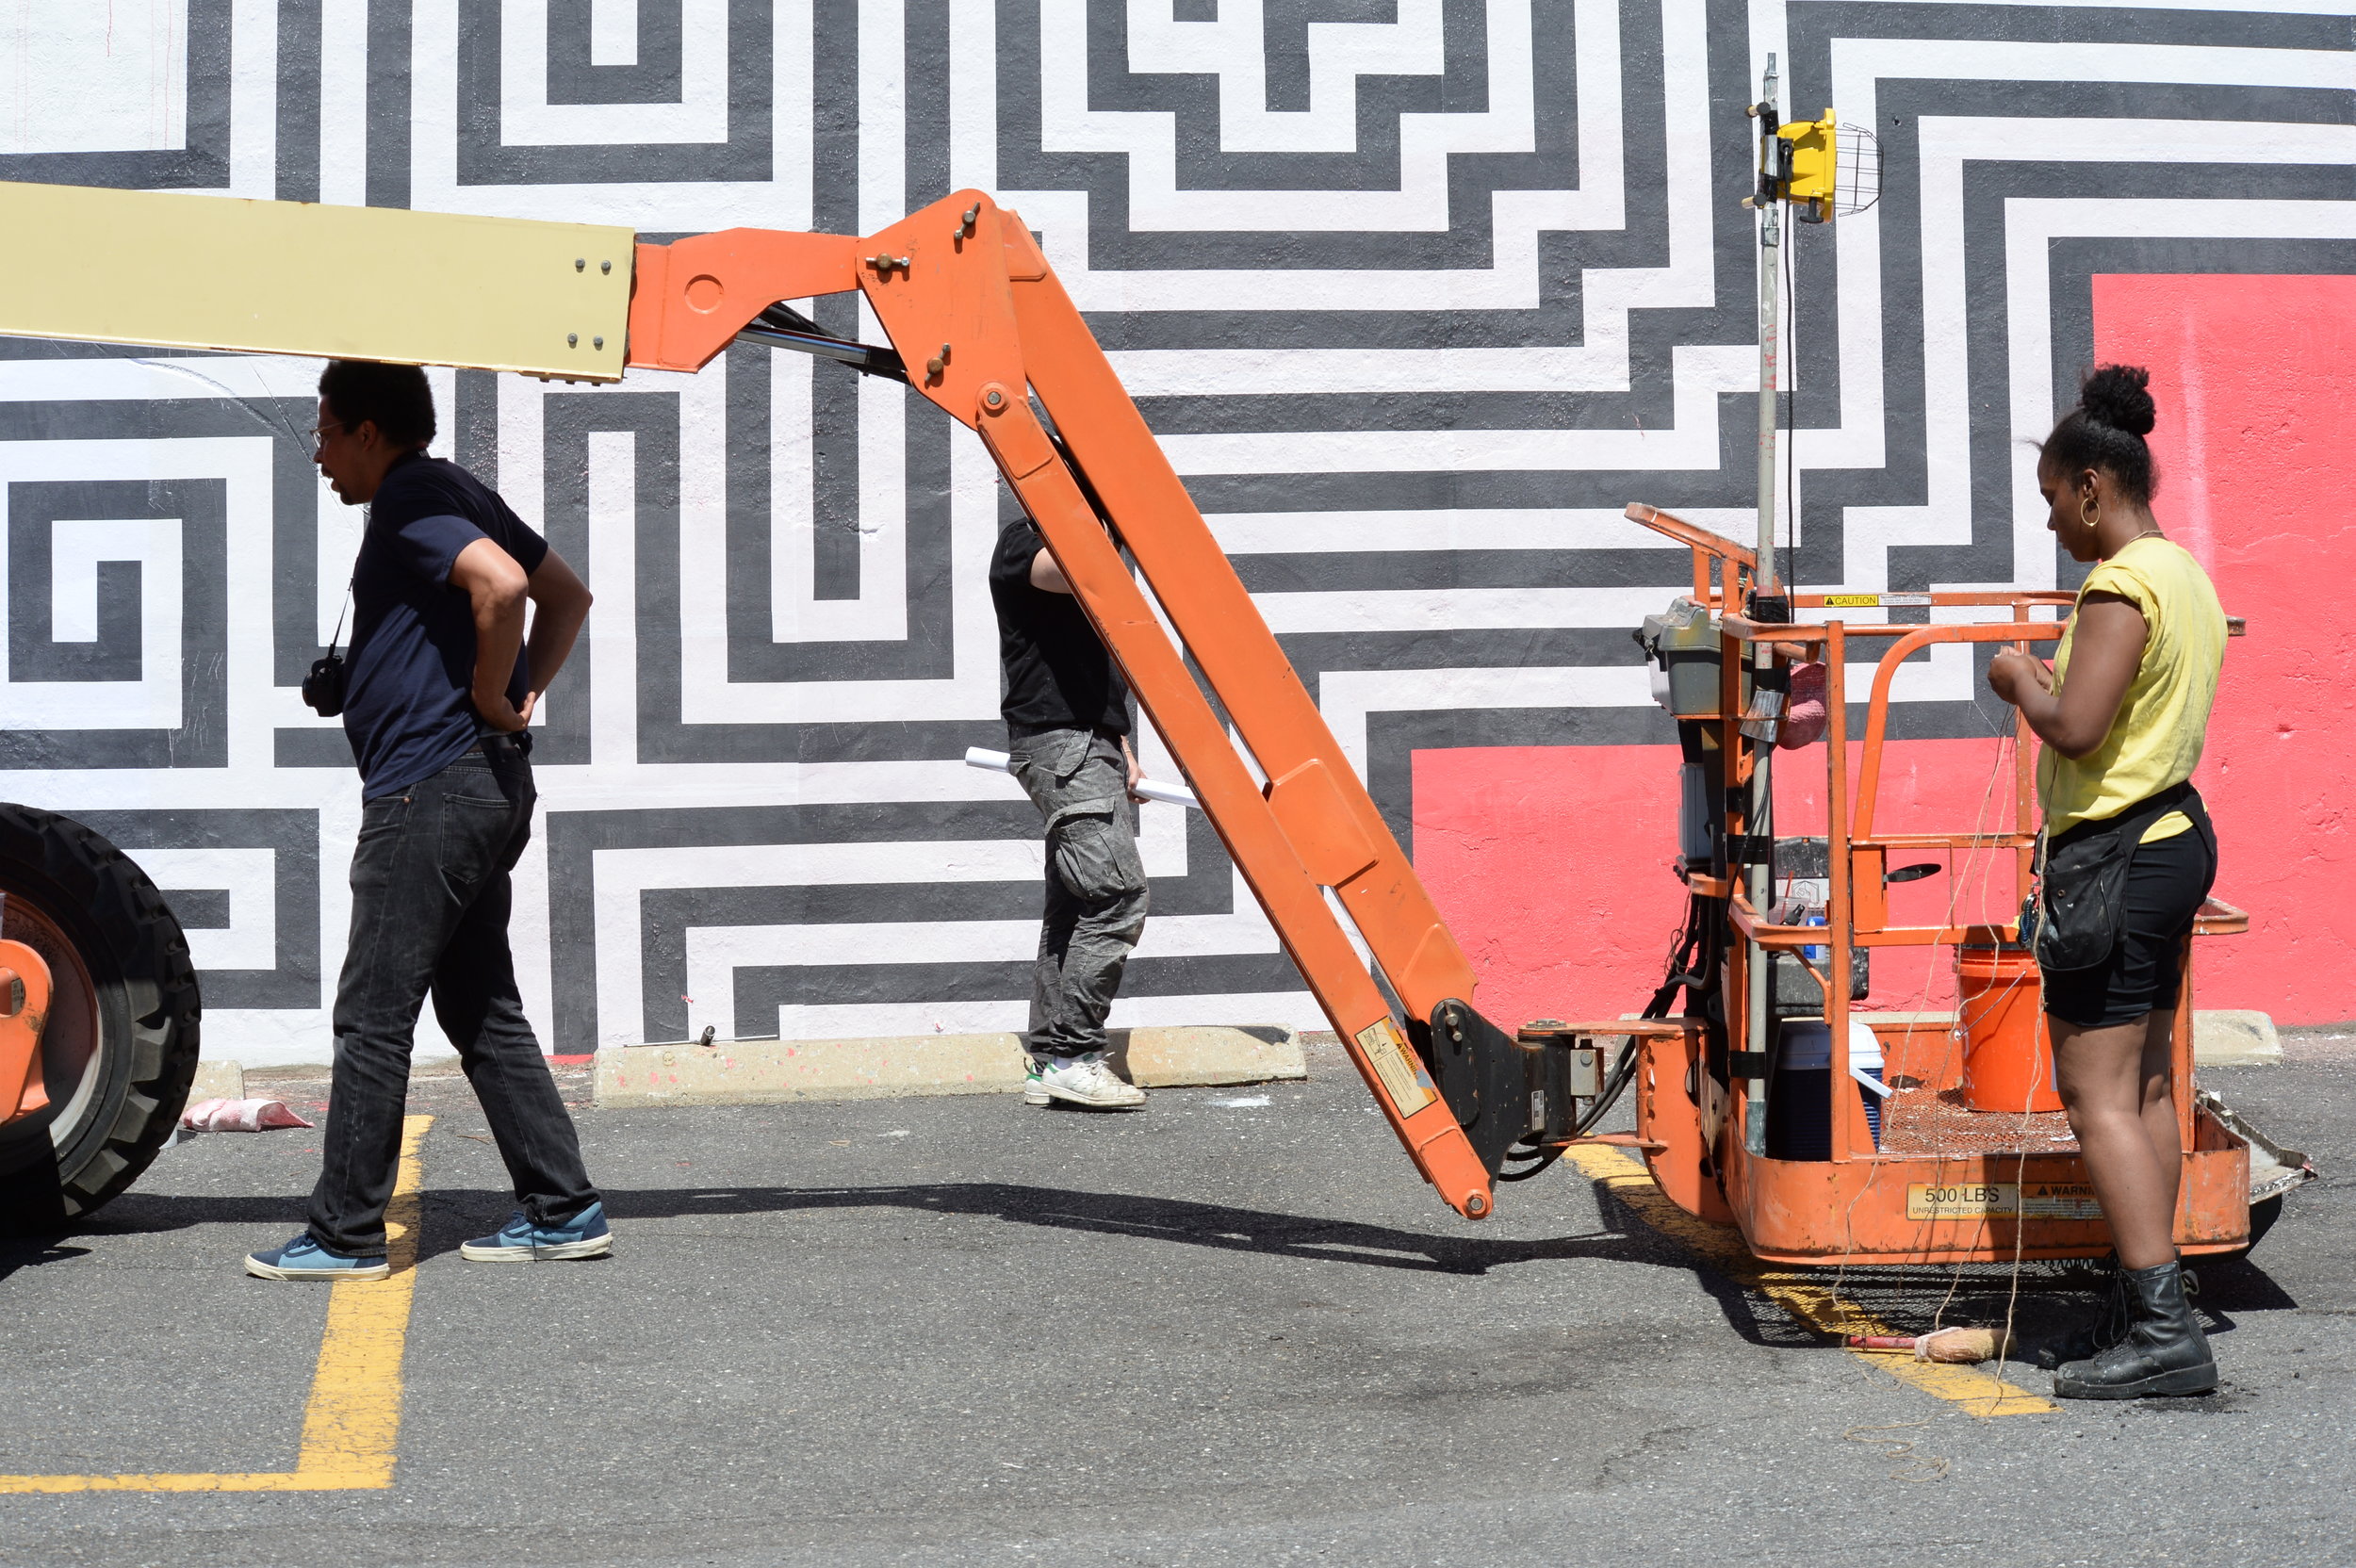
Lift: our lift is a 60 foot articulated boom lift, which ensures that Ann and her team are able to cover all parts of the wall.
Primer: Benjamin Moore Sure Seal Latex primer ensures an even finish, and its white color makes the fluorescent pink of the mural stand out.
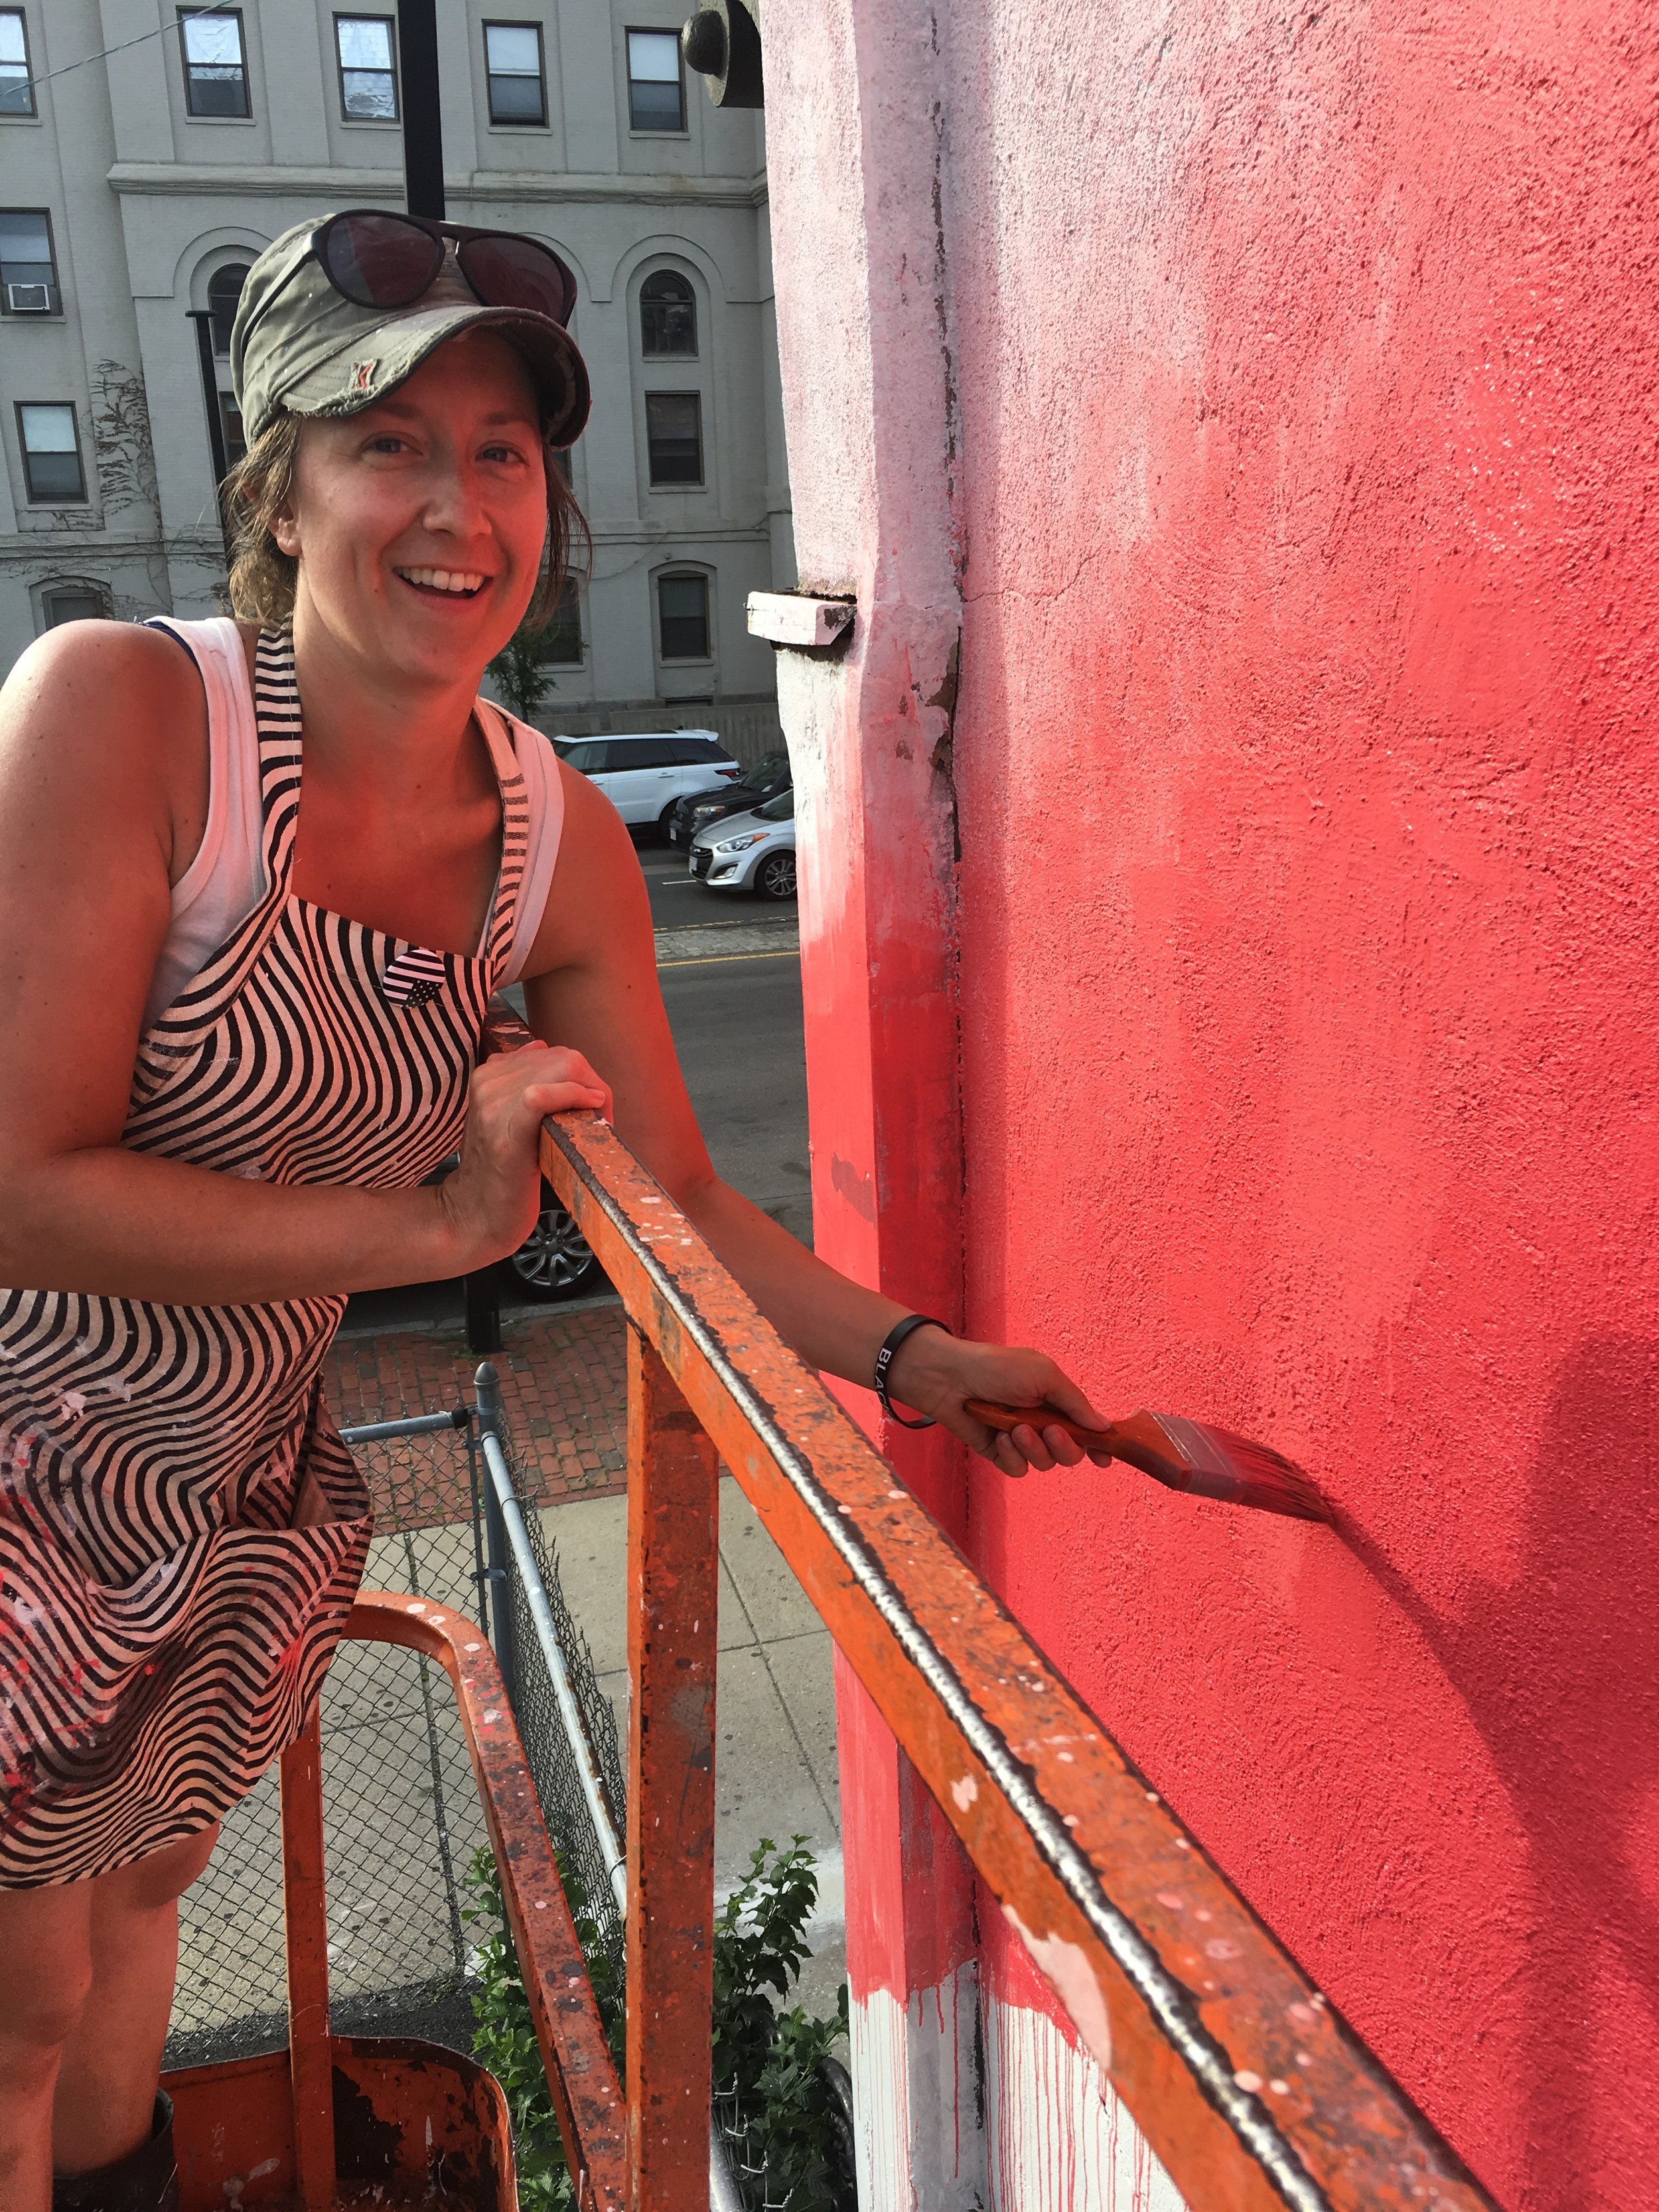
Spray paint: Ann uses Montana Gold brand spray paint in F3000 Fire Red. This fluorescent color provides a bold graphic element
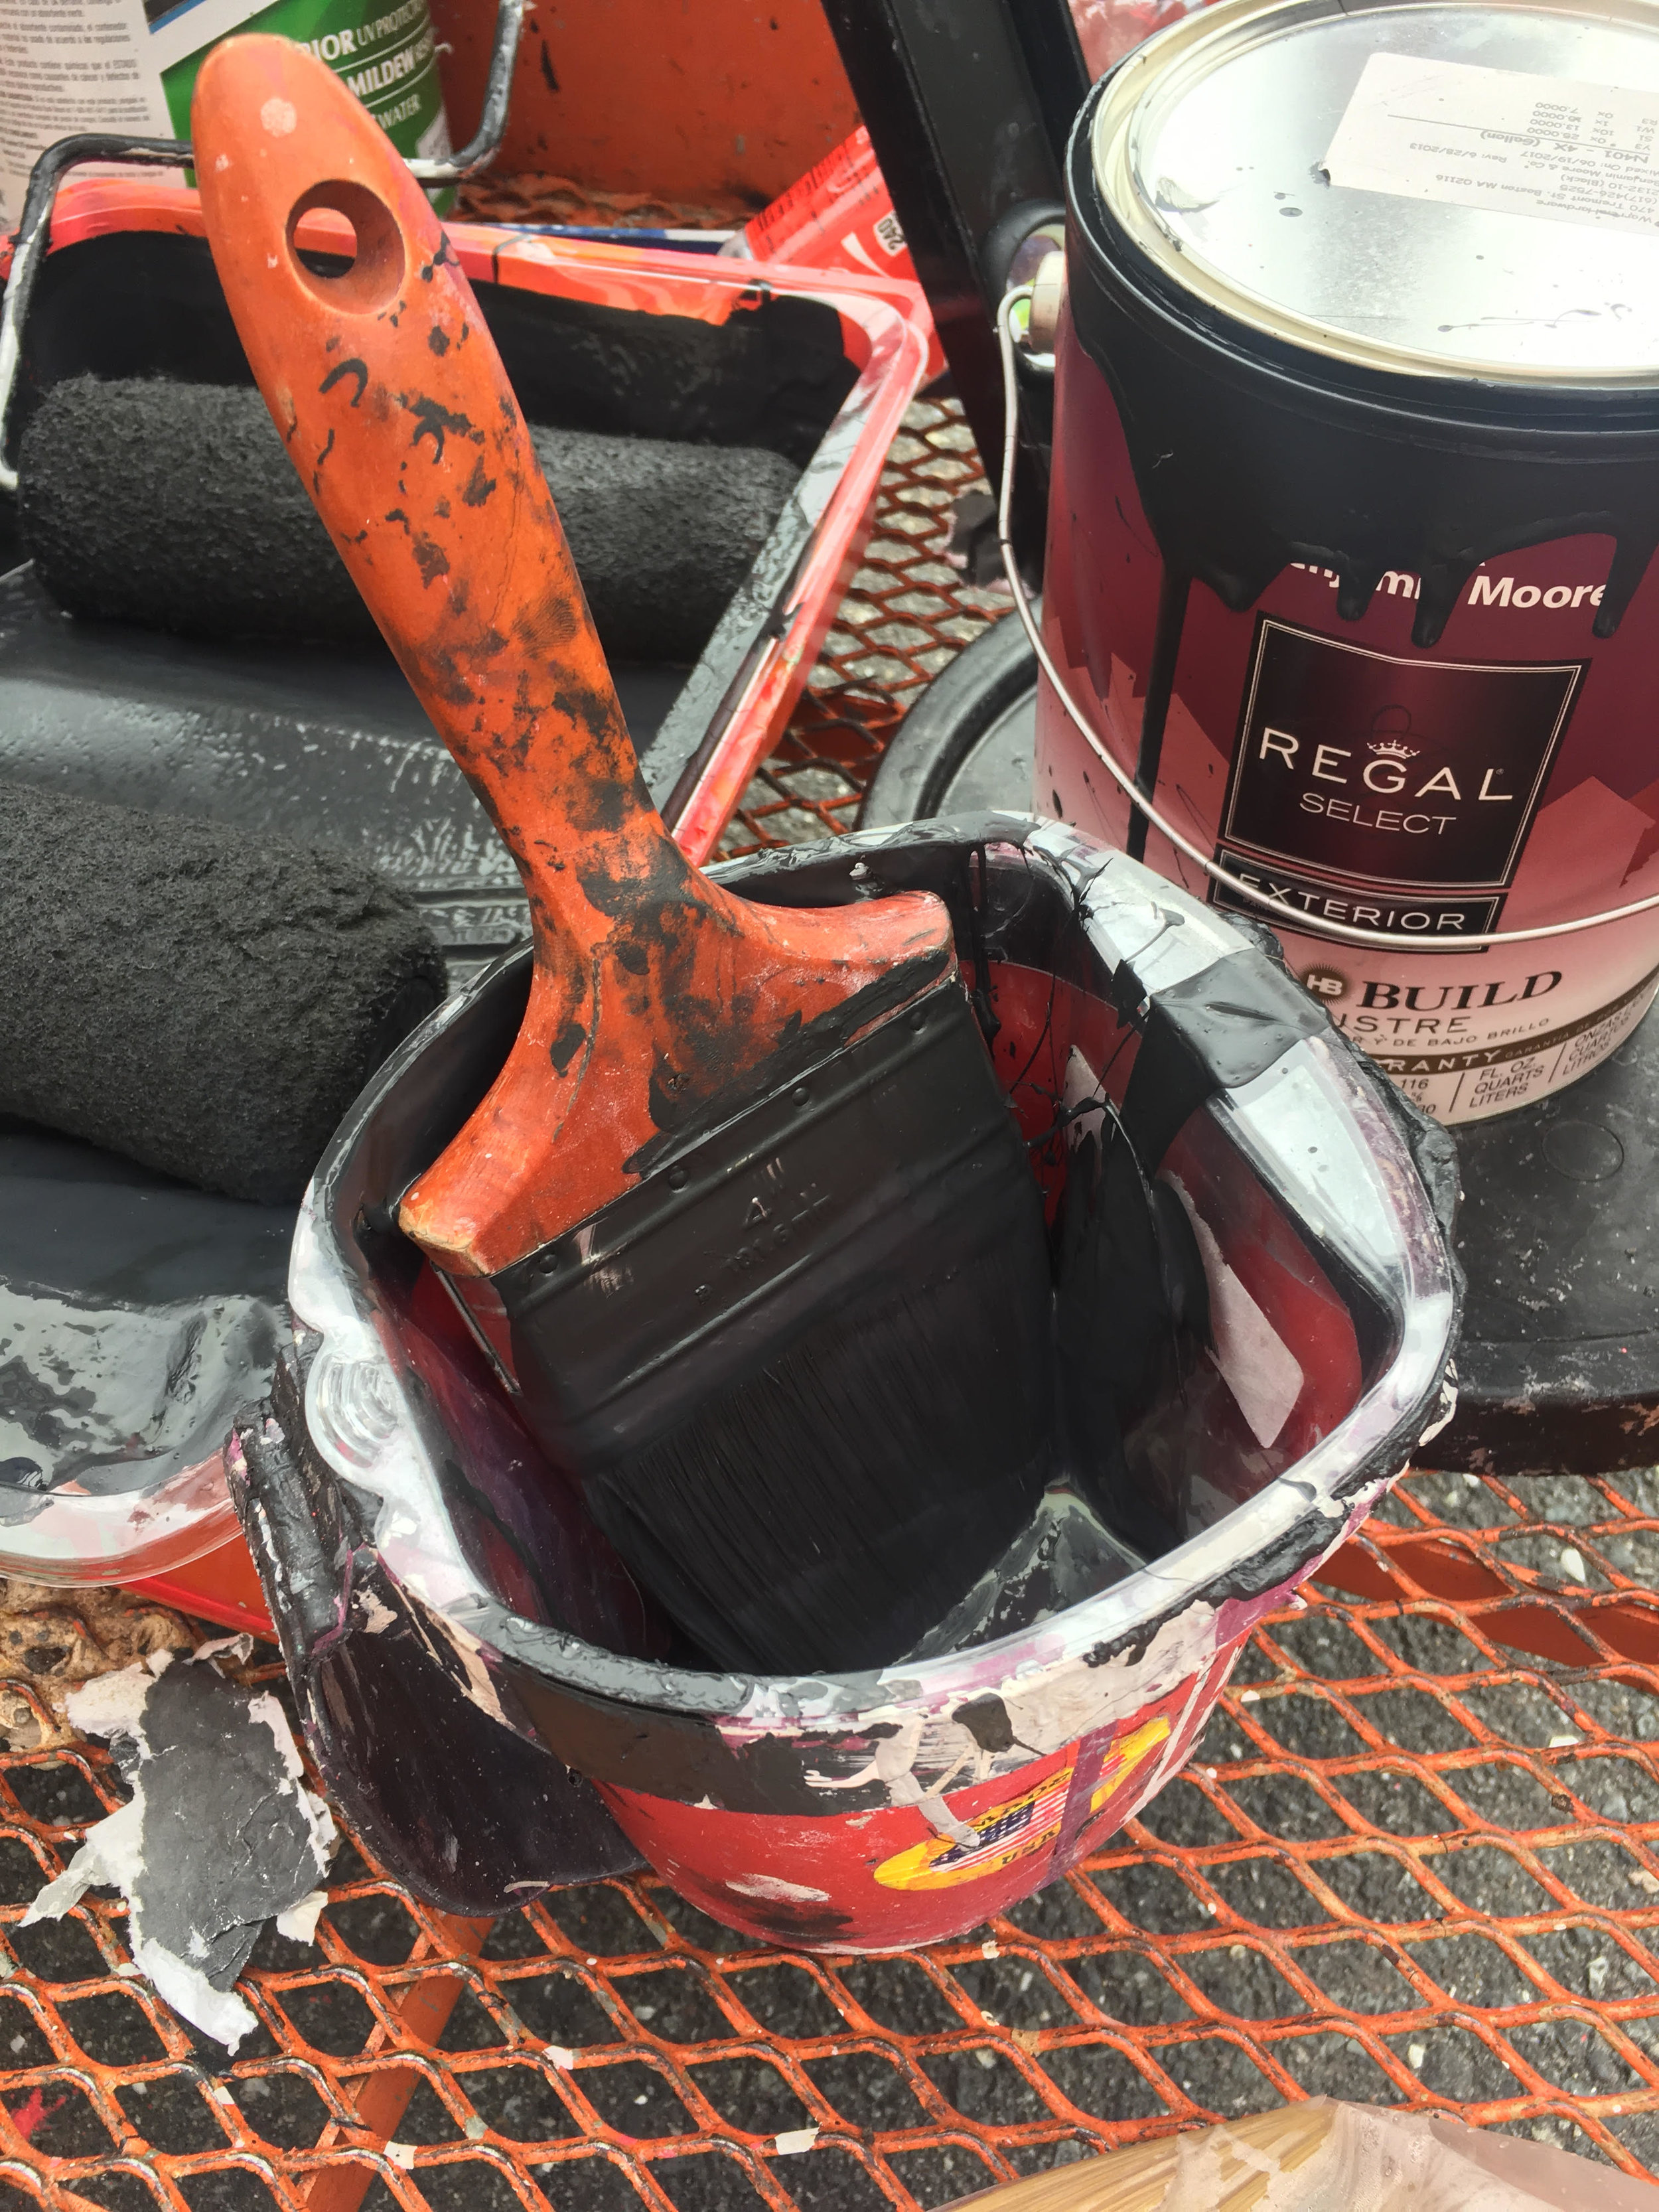
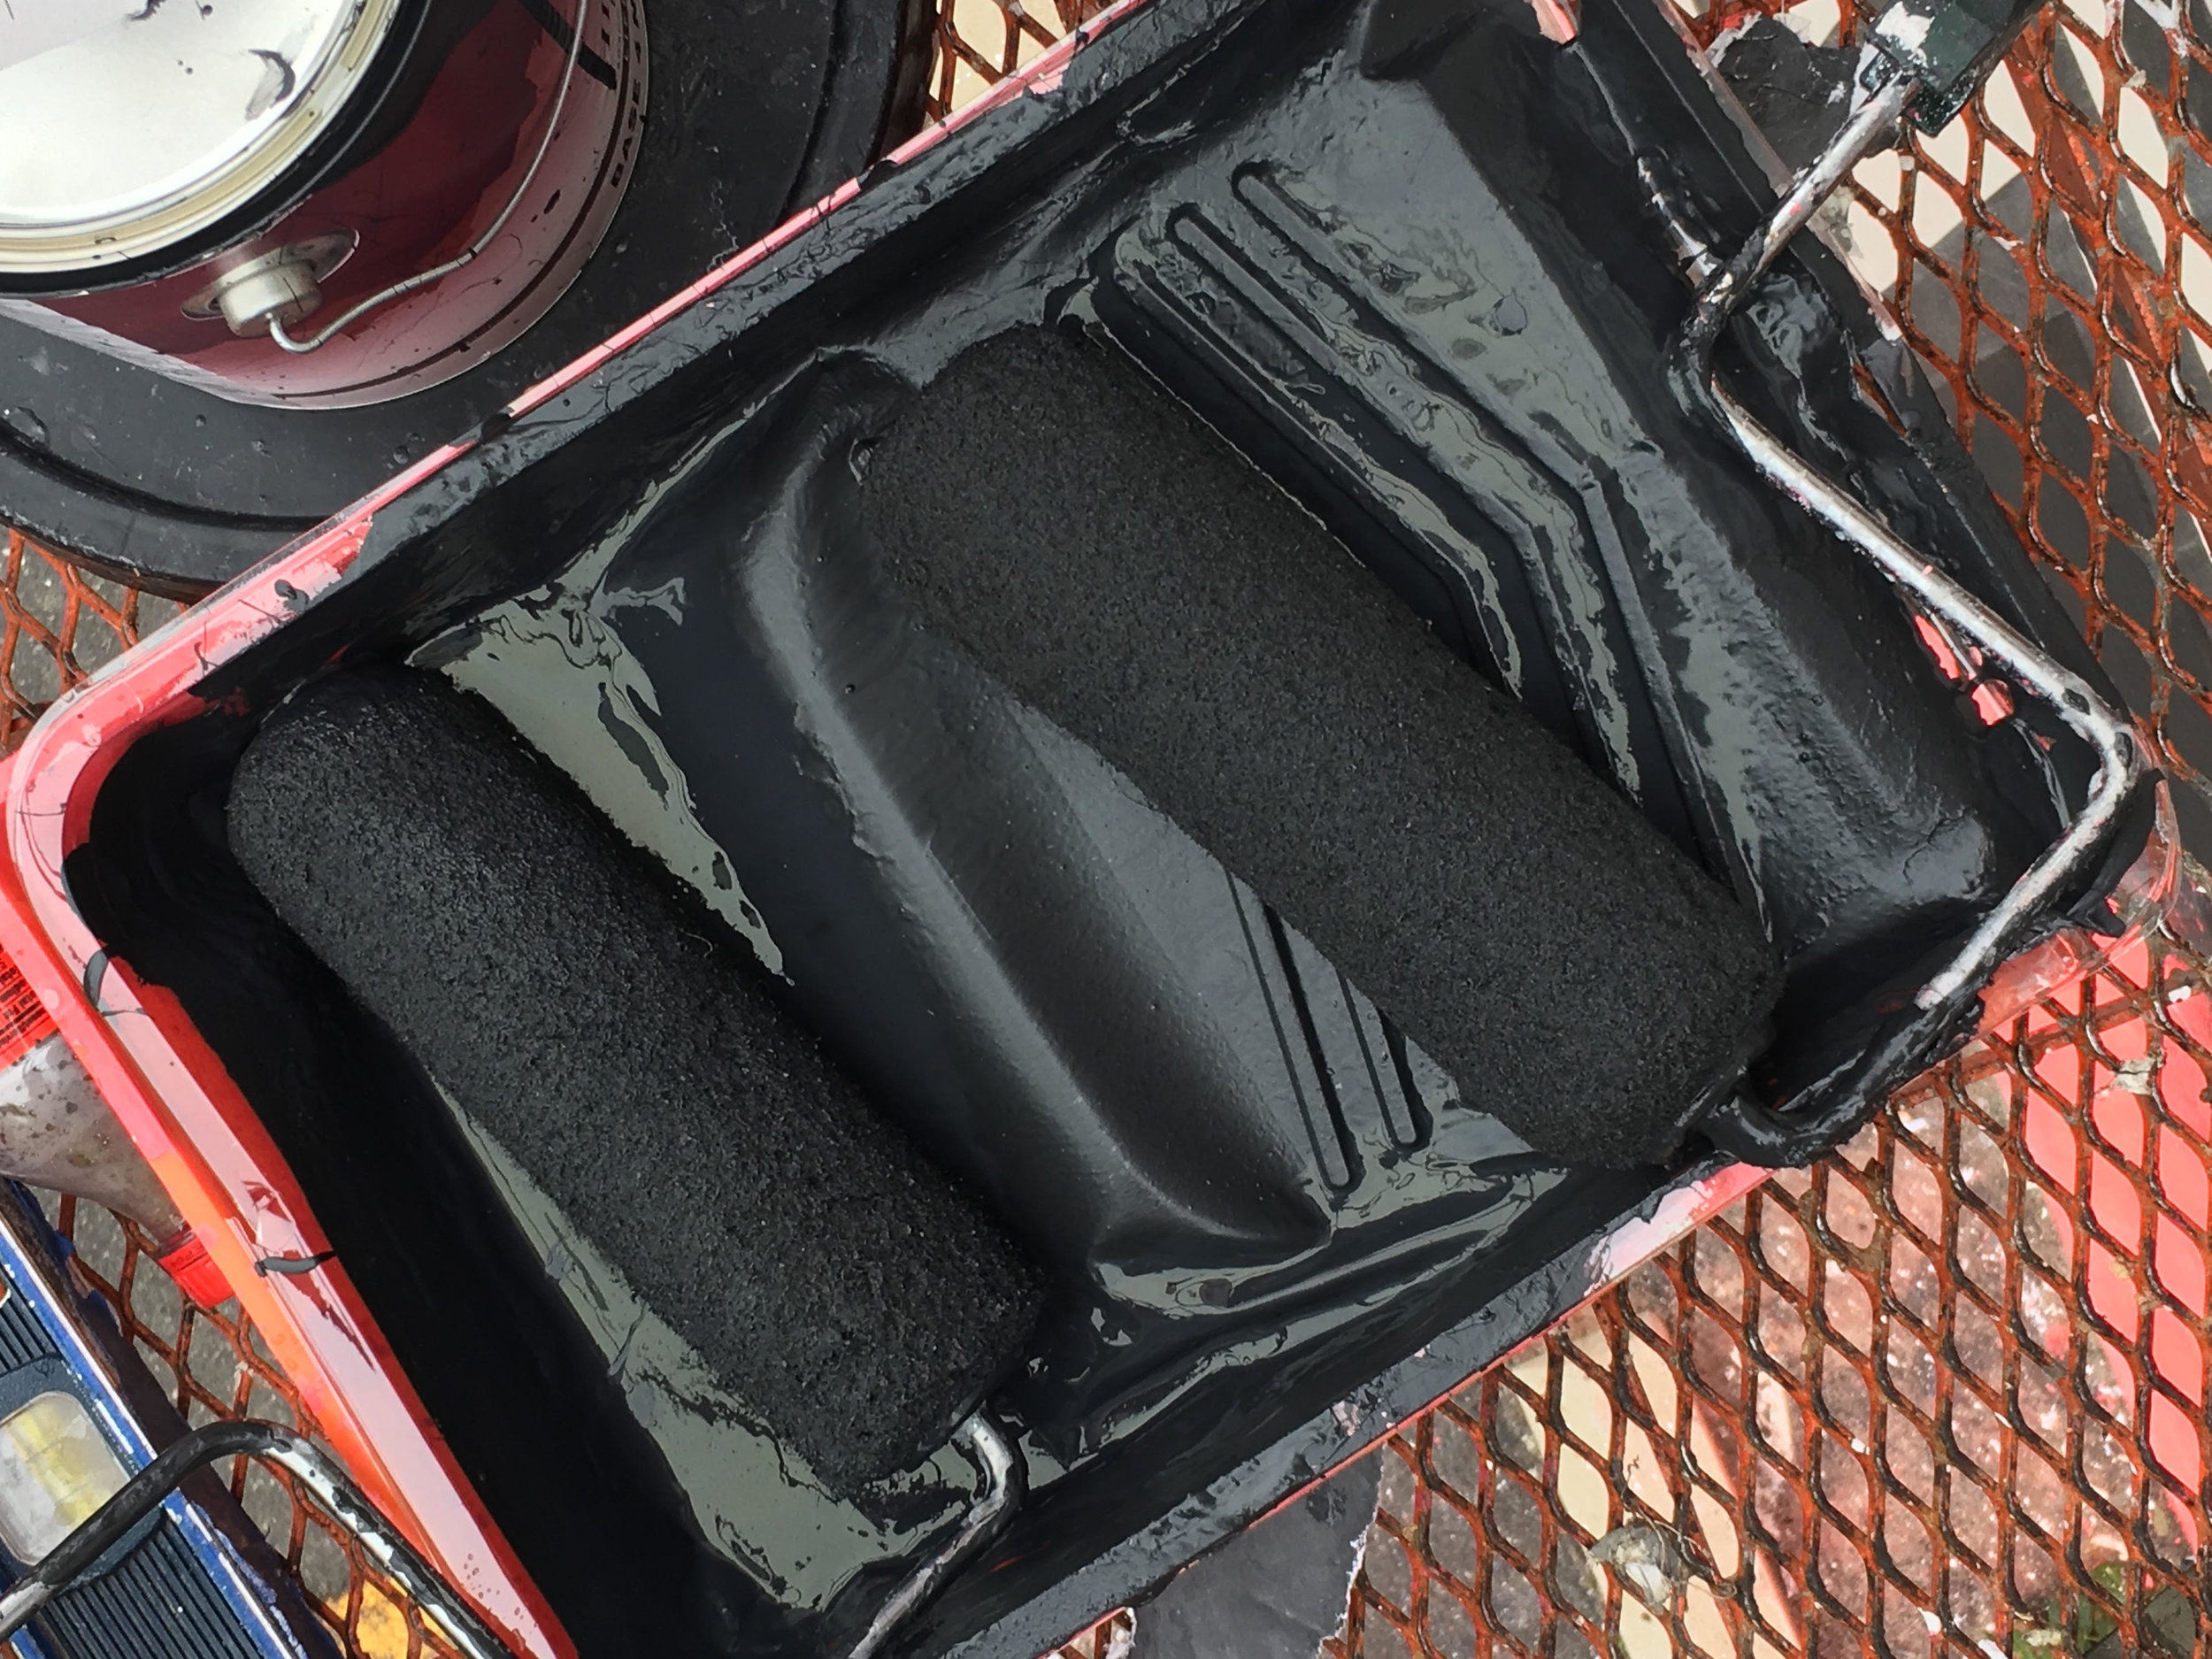
Exterior Paint: Ann also uses Benjamin Moore Regal select exterior paint in low lustre black. This means we also needed brushes and rollers, of course
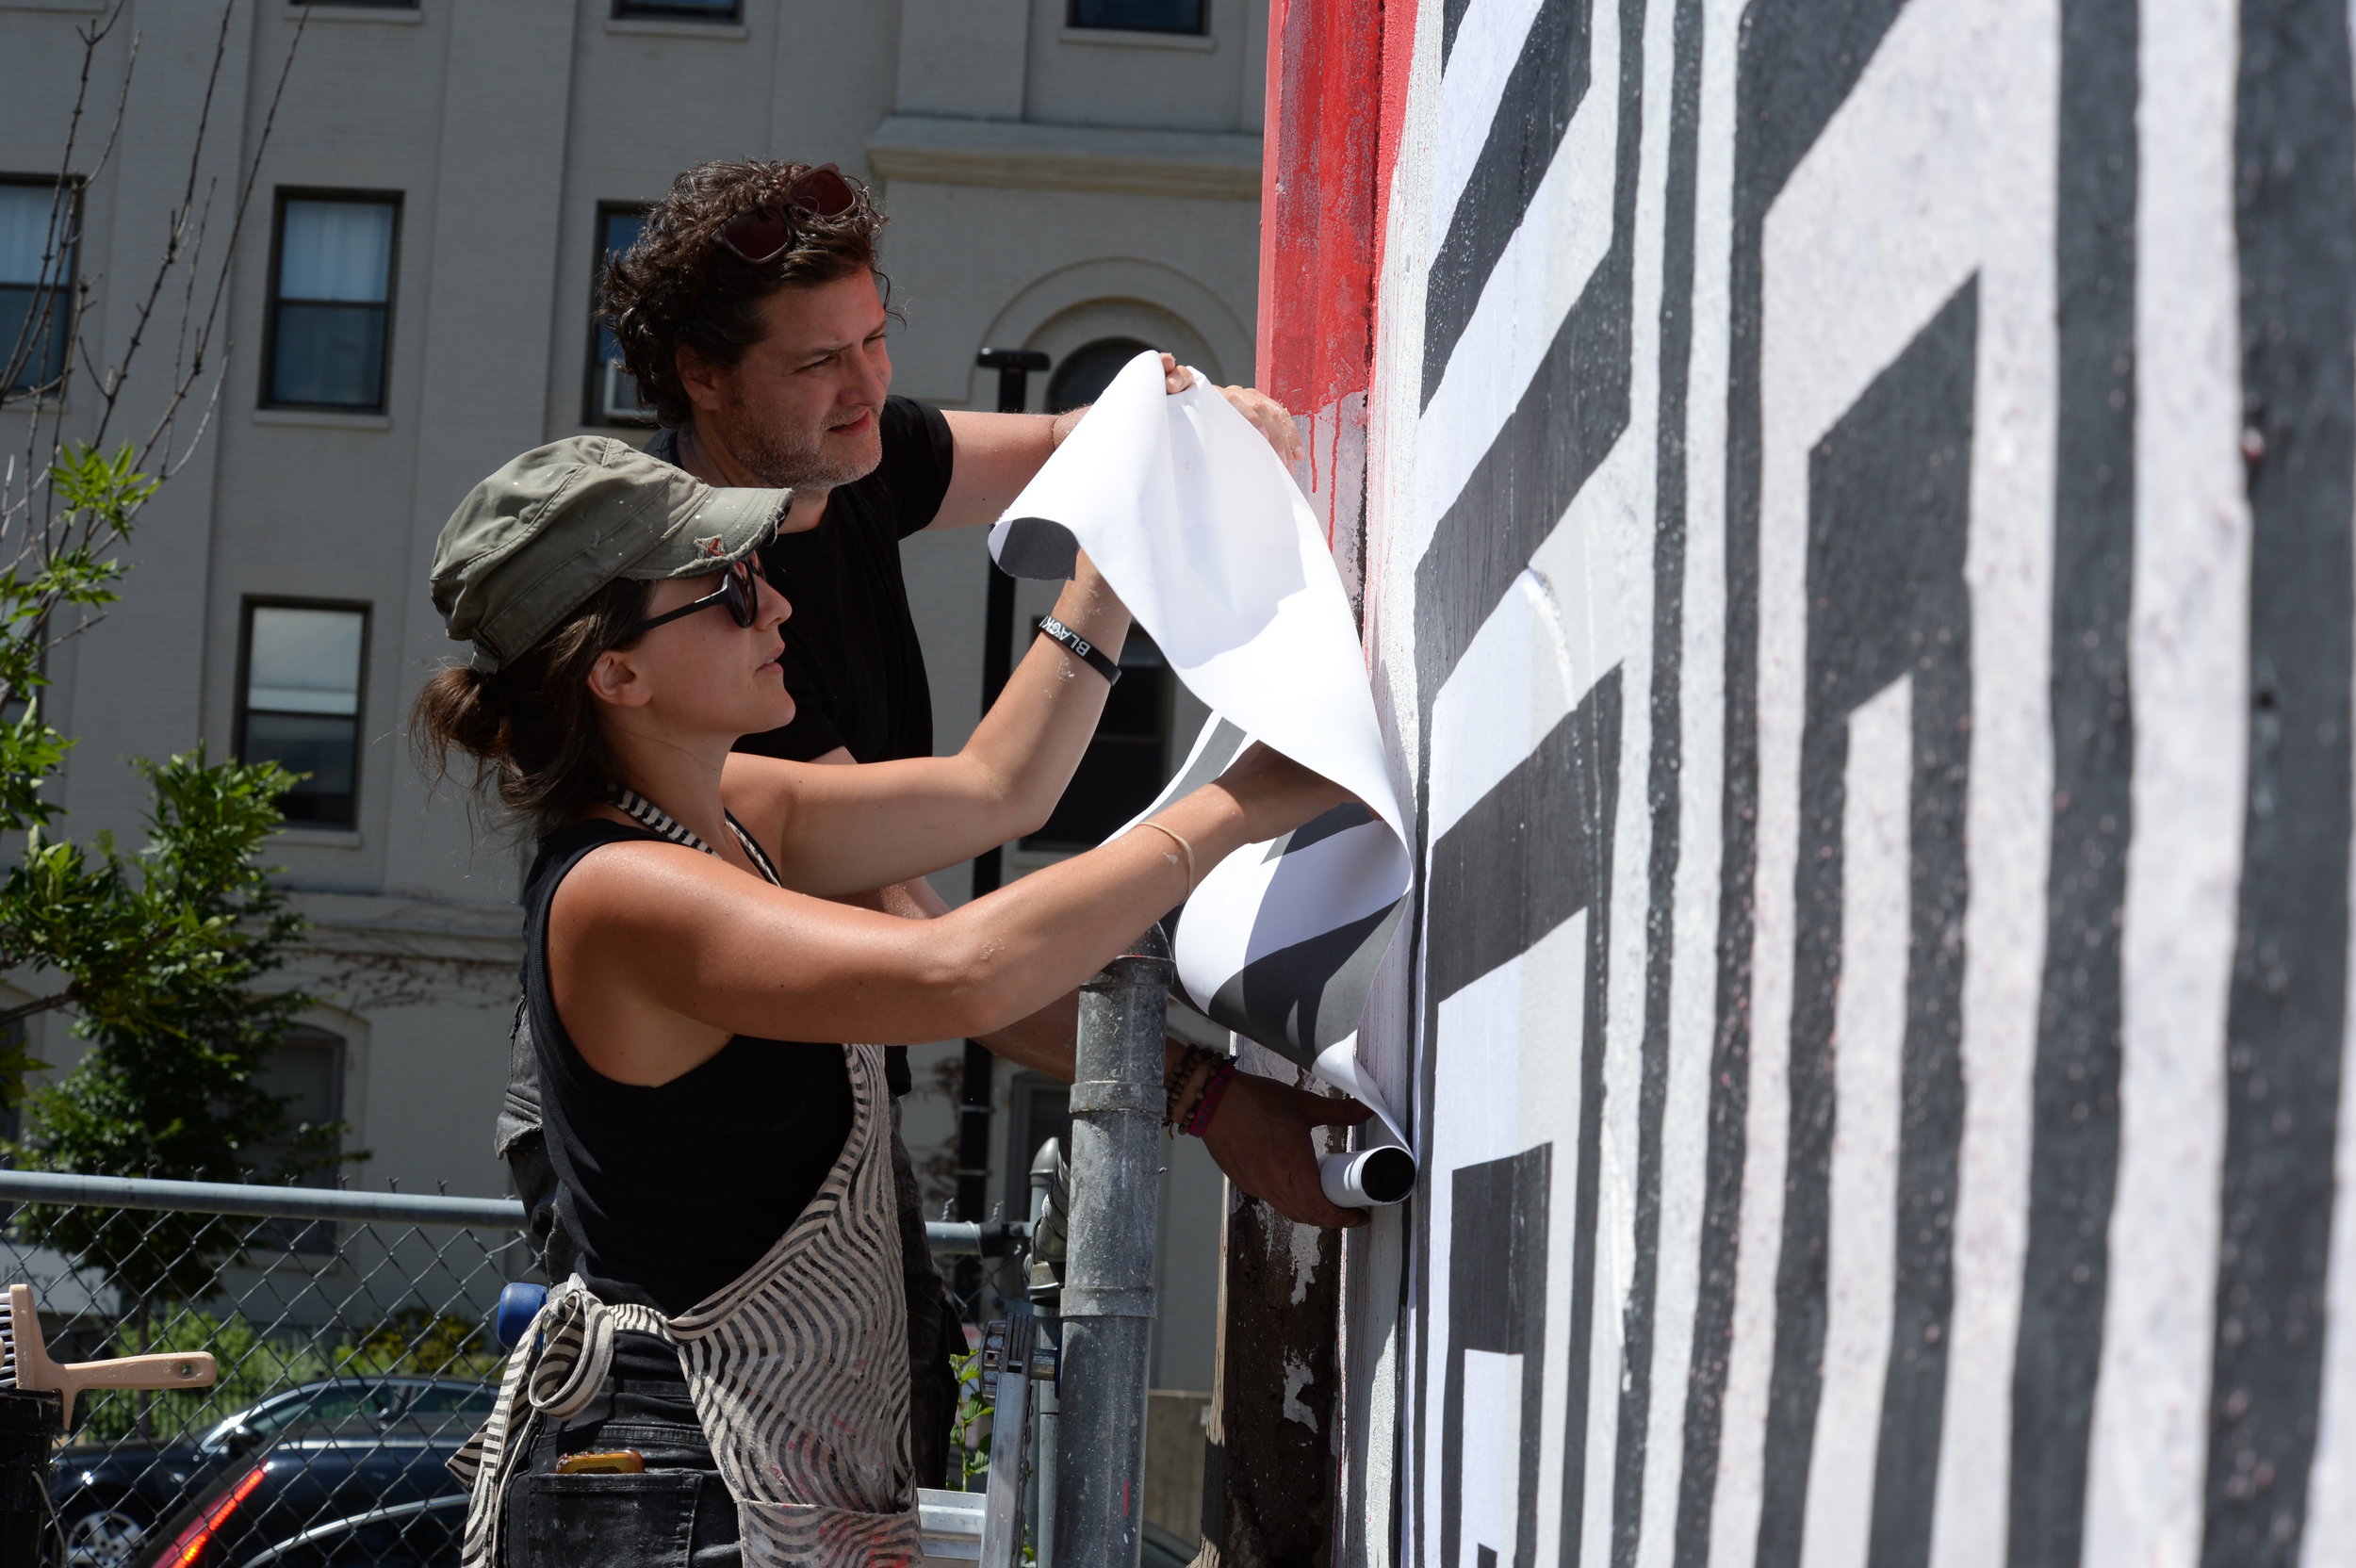
Laser prints on paper: the photos and other images you see in the design are laser printed to ensure that the images will endure throughout the wheatpasting.
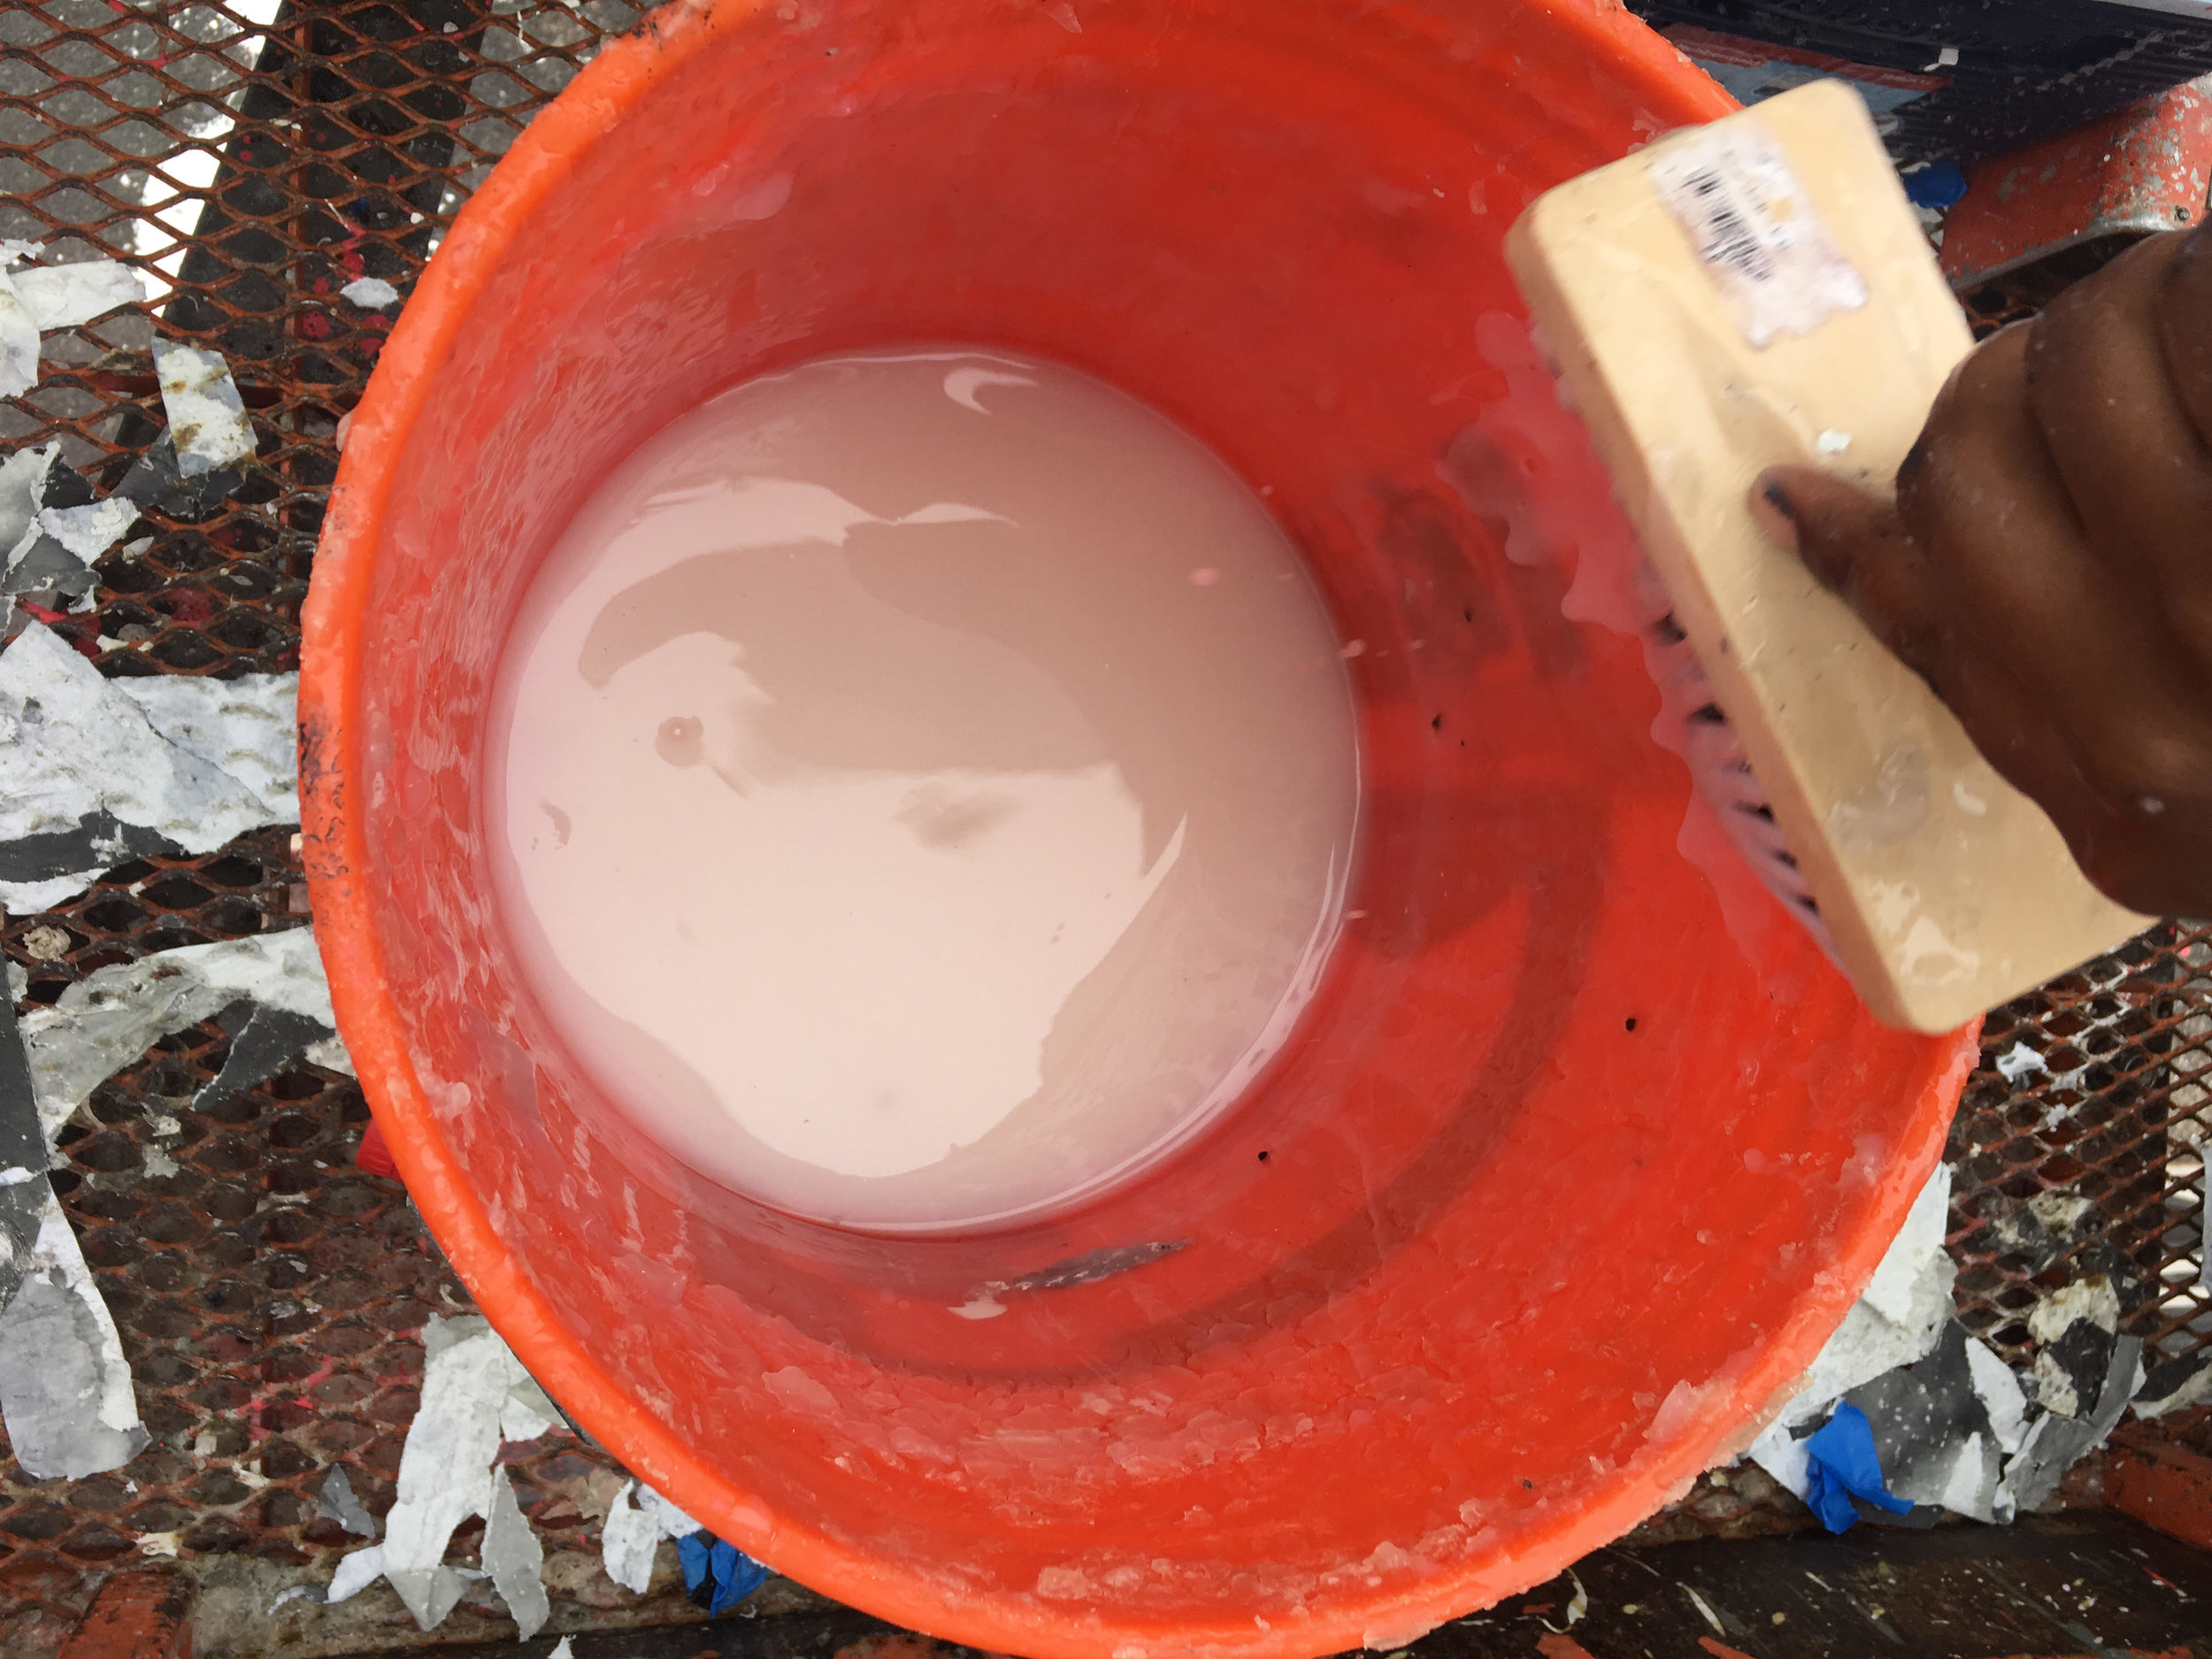
Wheatpaste: street artists use wheatpaste, an adhesive originally made from mixing water and wheat flour or starch, to adhere paper posters or images to walls. Ours is a little more technical than that! Wheatpasting is used to adhere the image components of the mural to the wall.
Top coat: since we want the mural to last 16 - 18 months, we use a special sealant, Varathane brand water based UV protectant, to paint over the final mural. The UV protective coat ensures the fluorescent paint does not fade.
Time lapse video: we’re using a Brinno HD time-lapse video camera to document the mural process. The camera, mounted on a nearby tree, takes a new picture every ten minutes to produce a time-lapse video of the process.
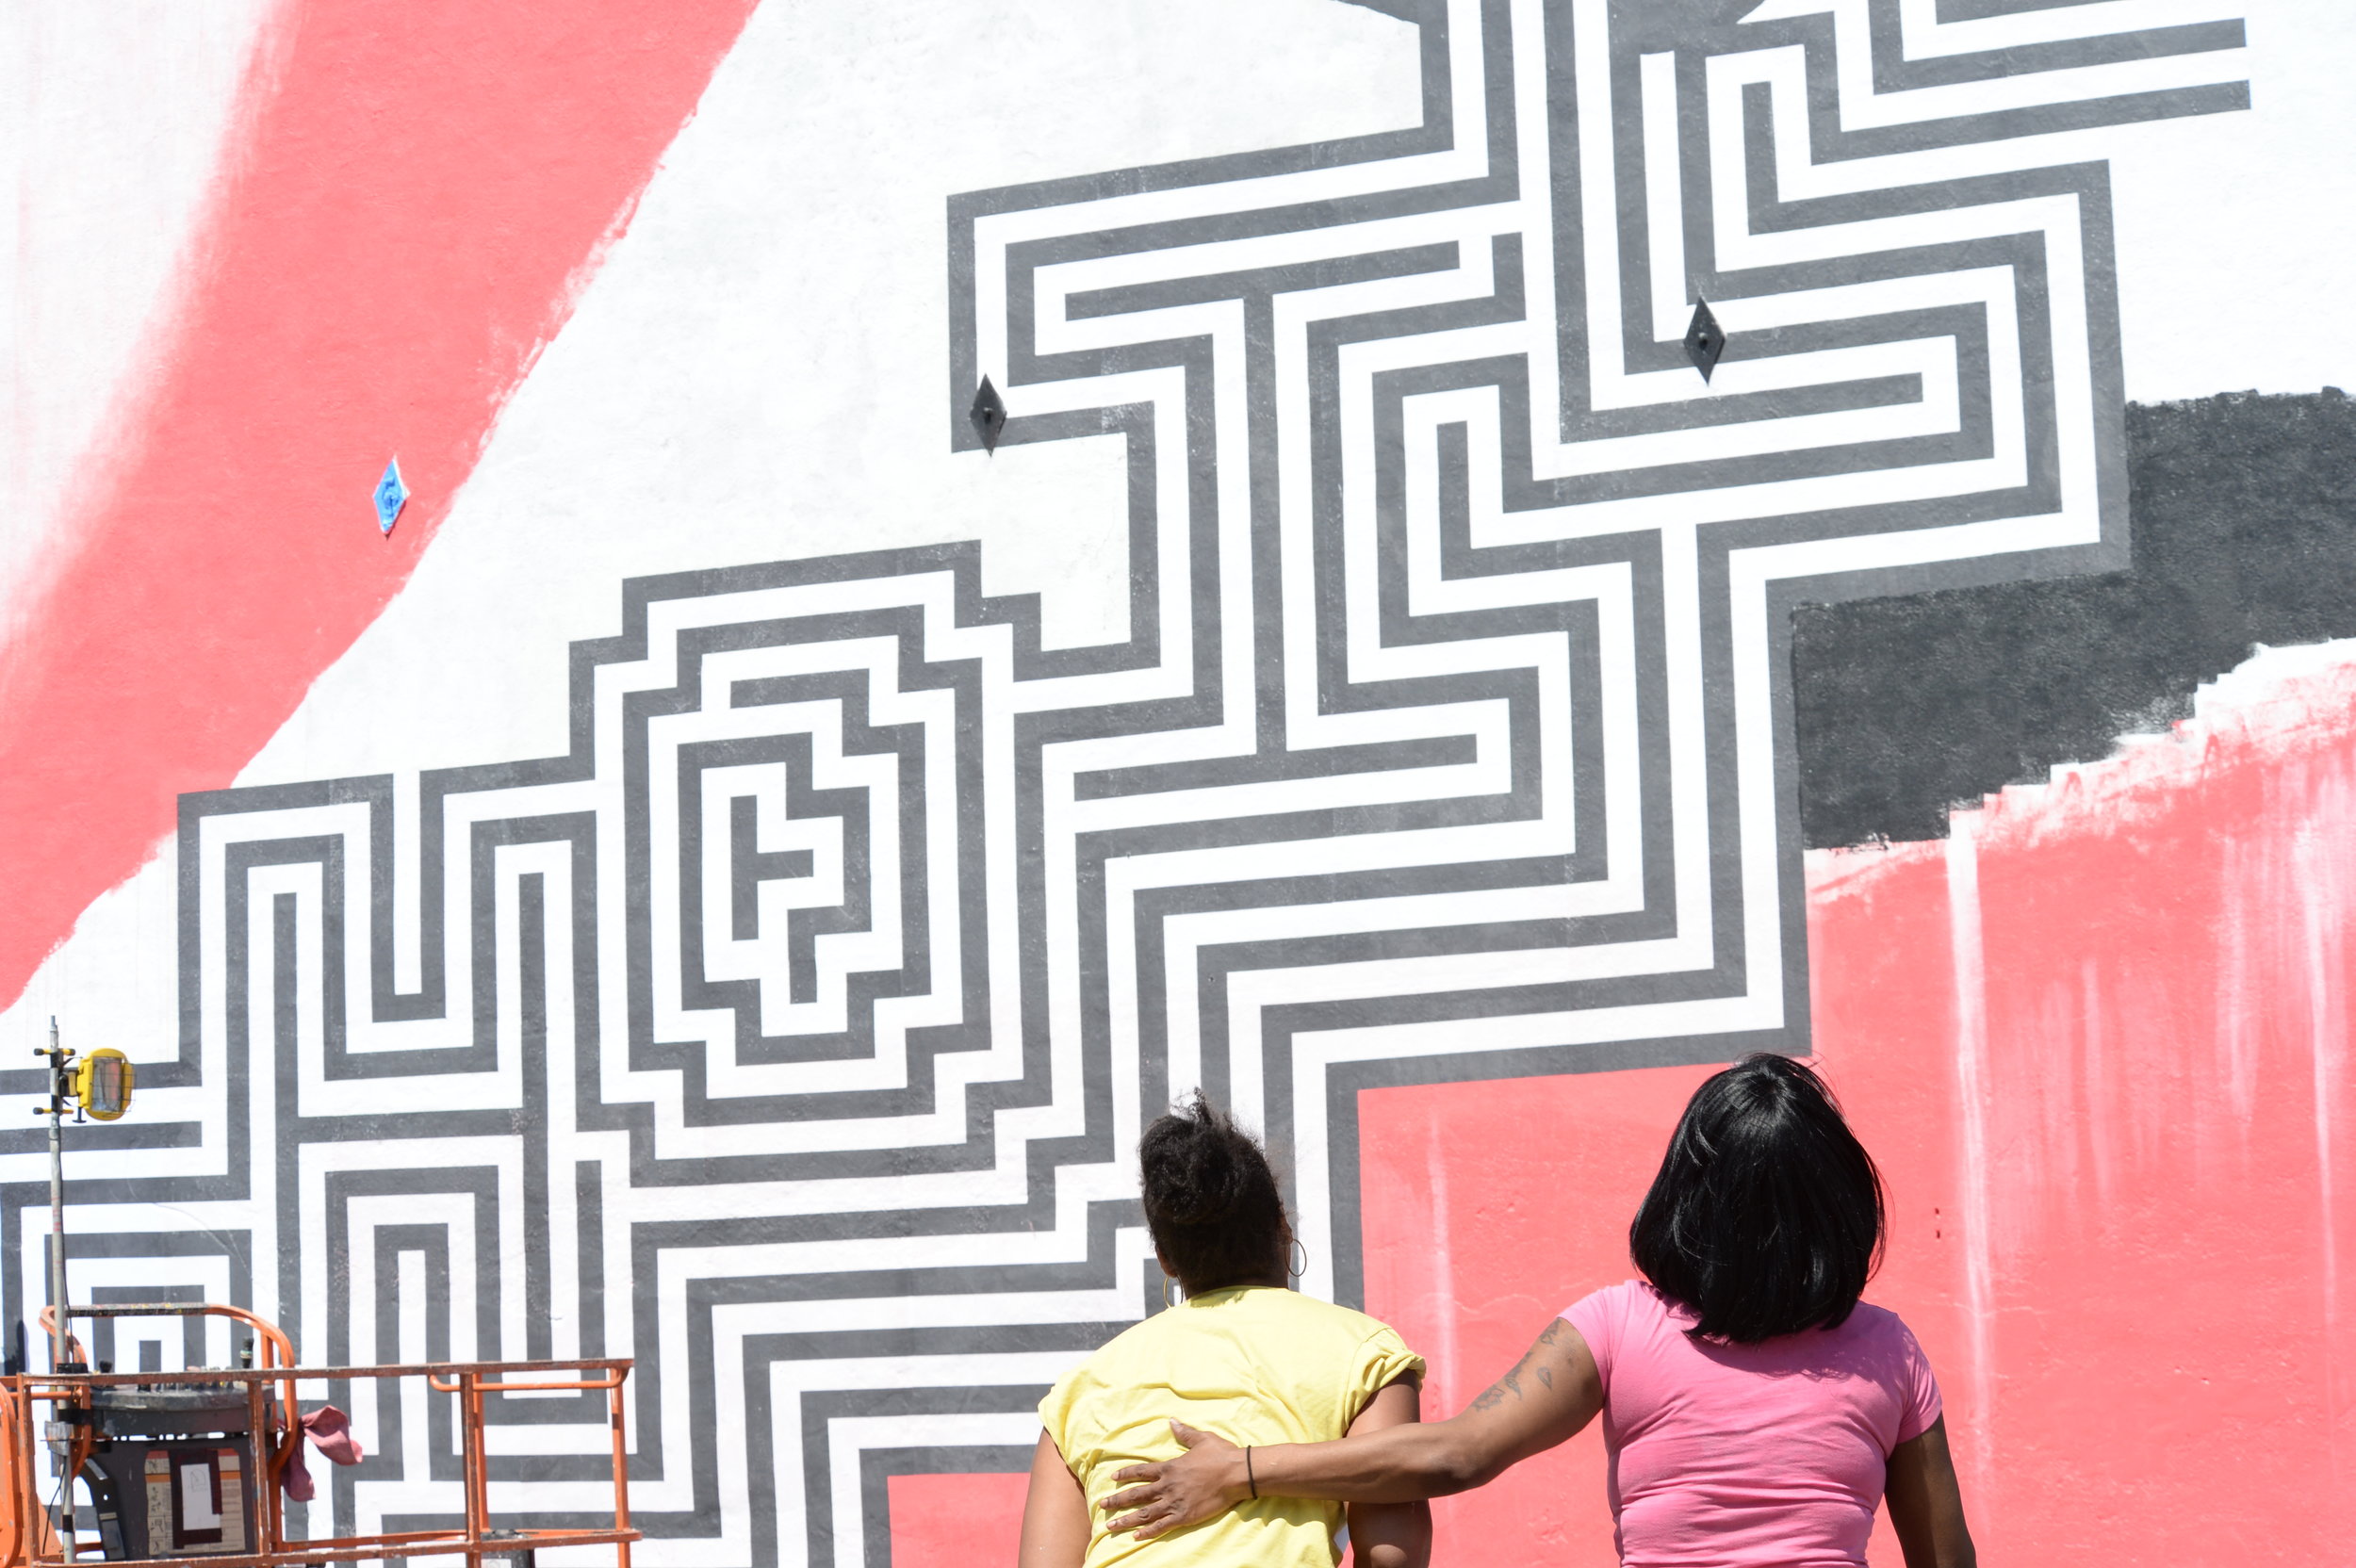
Step 6: Painting, pasting, and public engagement
Work started at 808 Tremont St. on June 16. Our first step? Priming the wall. All 38’ x 42’ feet of it - we loved it when one neighbor got in on the action (and thanked us for cleaning up the wall).
The first thing on the wall after priming was a great swath of hot pink paint — if folks hadn’t noticed us there before, they certainly knew something was going on after that paint went up.
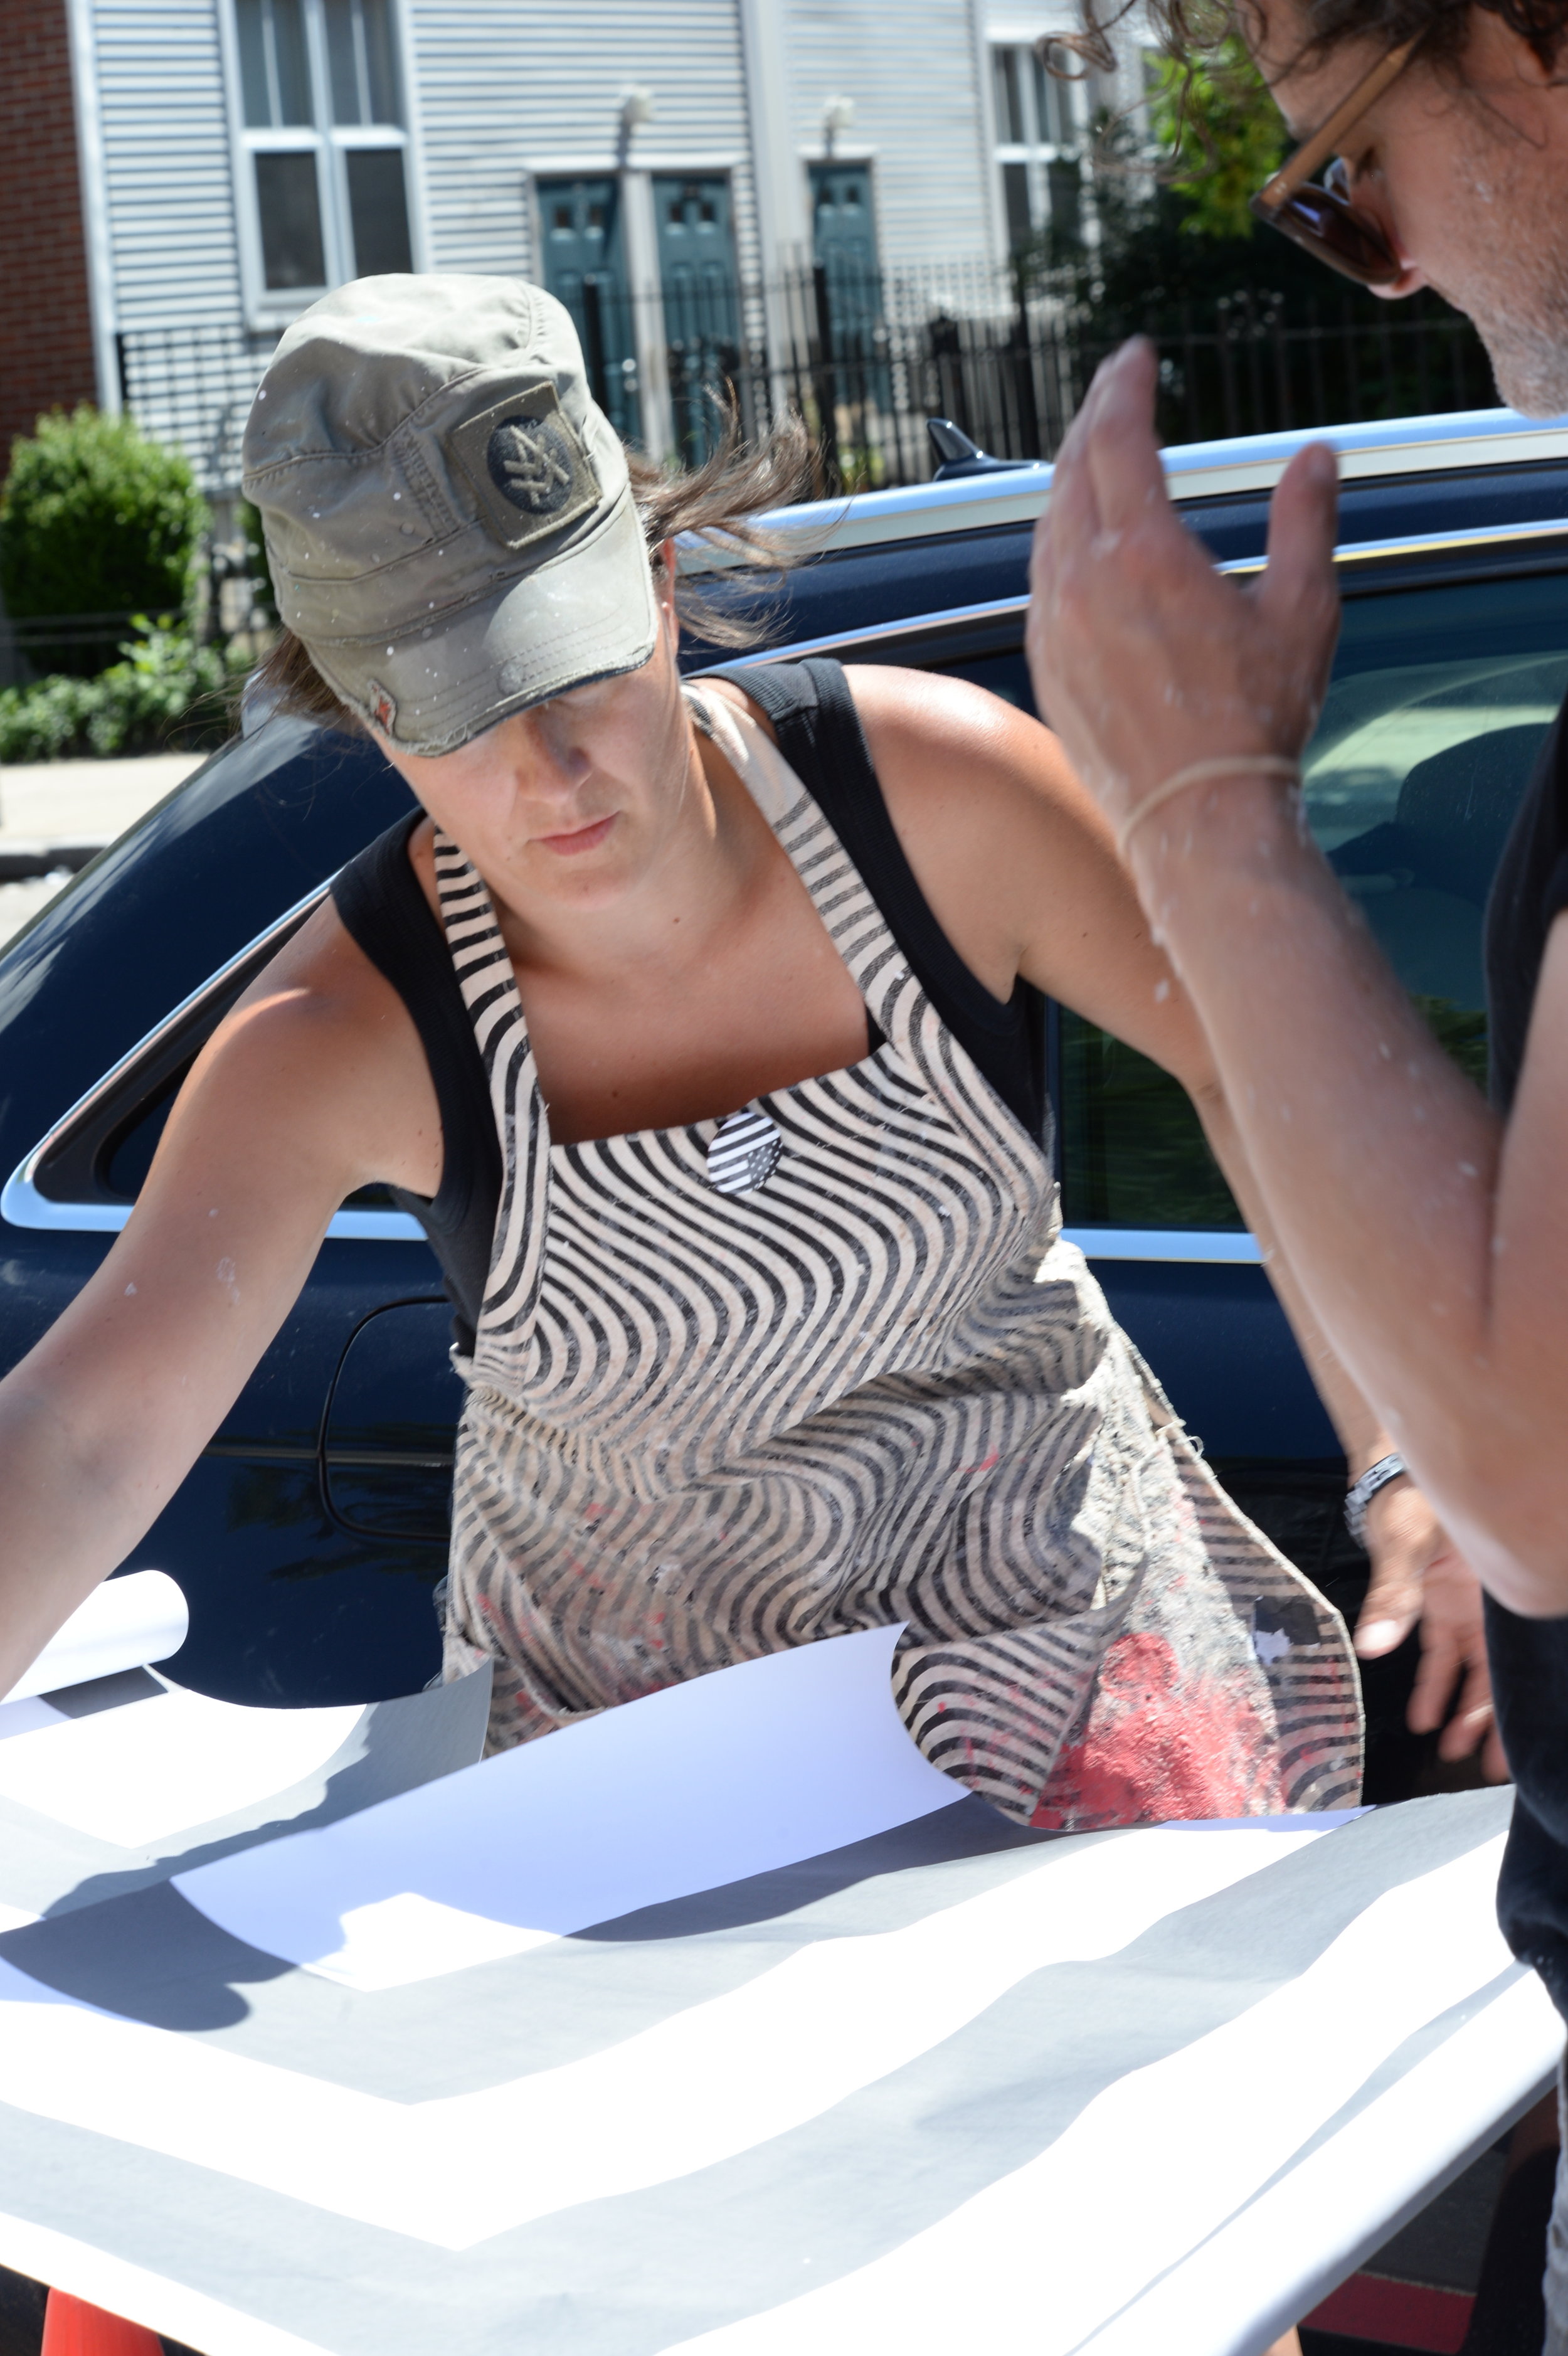
Ann and her assistants worked long days in the hot sun to paint and paste, answering questions from neighbors and passersby as they created. One particular neighbor, Sweets, has stopped by every day to cheer Ann on, offer her water and treats, and talk about the mural.
Above photos by Ryan C. McMahon

Step 7: Allowing for the Unexpected
After 11 days of intense and grueling work, the mural was nearly complete. Press and the public were stopping by to take photos and cover the story of this vibrant new piece of art in the neighborhood. Fast moving storms hit late in the day...and...well...we hit some rough weather.
New friends from Lenox/Camden Housing and artists from the Piano Craft Guild continue to check on Ann’s work and offer moral support. Especially since...the storm.
“Well, Mother Nature thinks you should do it again. Don’t give up! You got this, girl.”
Step 8: Forging ahead
There’s no denying it was hard to see those New England summer storms do that kind of damage to the art — especially after a week of demanding physical work — exhaustion and emotion levels were high. But with moral support, some wonderful donors, and an increased slate of volunteers, we created a plan to clean the wall, have new prints made, and prep the wall for repair and completion.
Step 9: Finishing!
And now the finish line is in sight! Stay tuned for our final updates as we complete the mural this week. And join us for our Neighborhood Wrap Party on July 18 — it’ll be a fun event and is free and open to the public — RSVP here .